Hands-on Activity: Pancake Art for Beginners
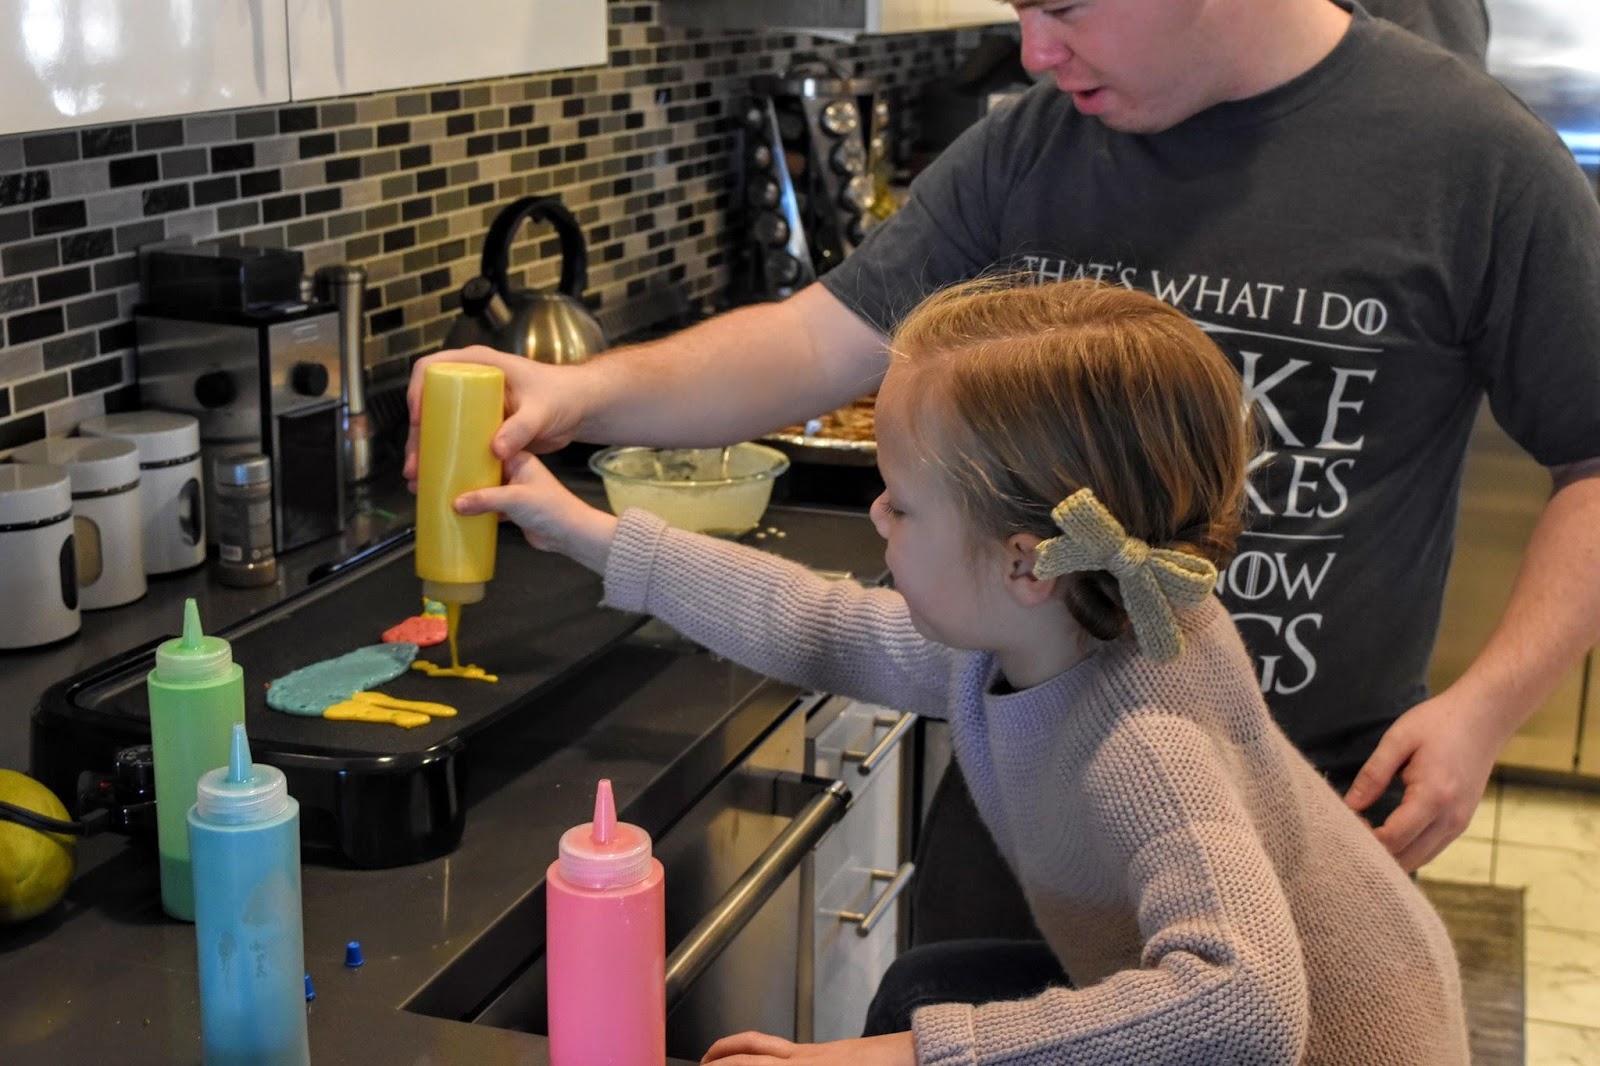
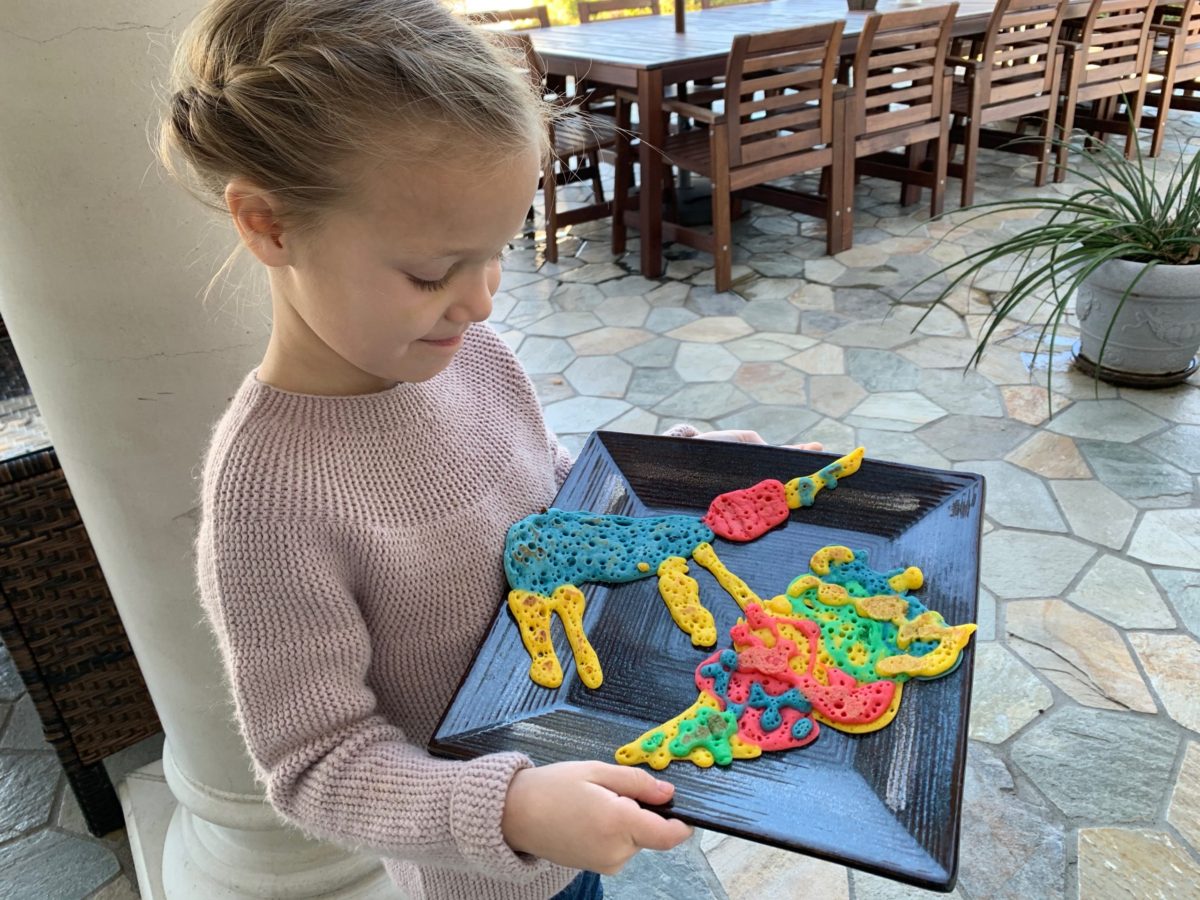
Pancake art is a favorite activity I love to pull out on a slow Saturday morning when the grandkids visit. For our really young grandkids, I consider this a craft project, not a cooking activity. Pancake art pancakes are edible, but not delicious. That said, this is so fun to do, I really recommend you try it.
The main thing to keep in mind comes from a quote on Fatherly.com:
“Cooking Is Fun: Watching someone cook pancakes is like watching paint dry, but watching someone create art is like watching really cool paint dry. They’ll want their own shot at pancake artistry as soon as they’re strong enough to squeeze the bottle, and from there it’s just a few decades (and a few hundred grand) to the graduation podium of the Culinary Institute Of America.”
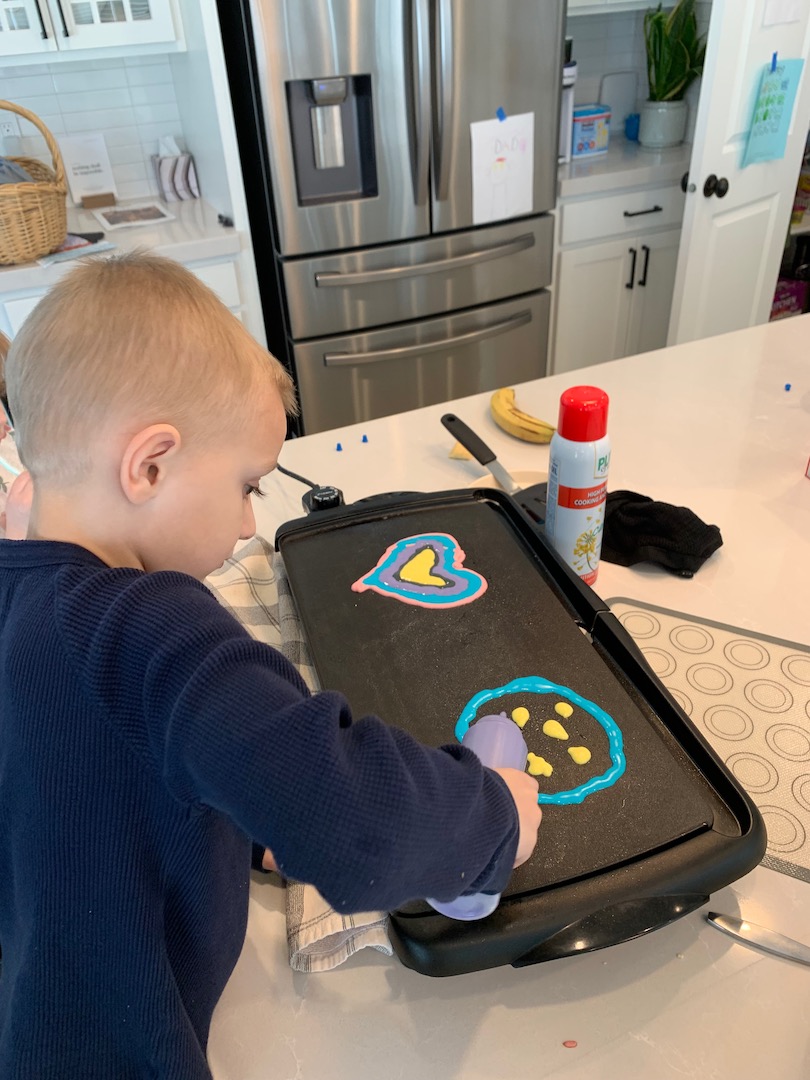
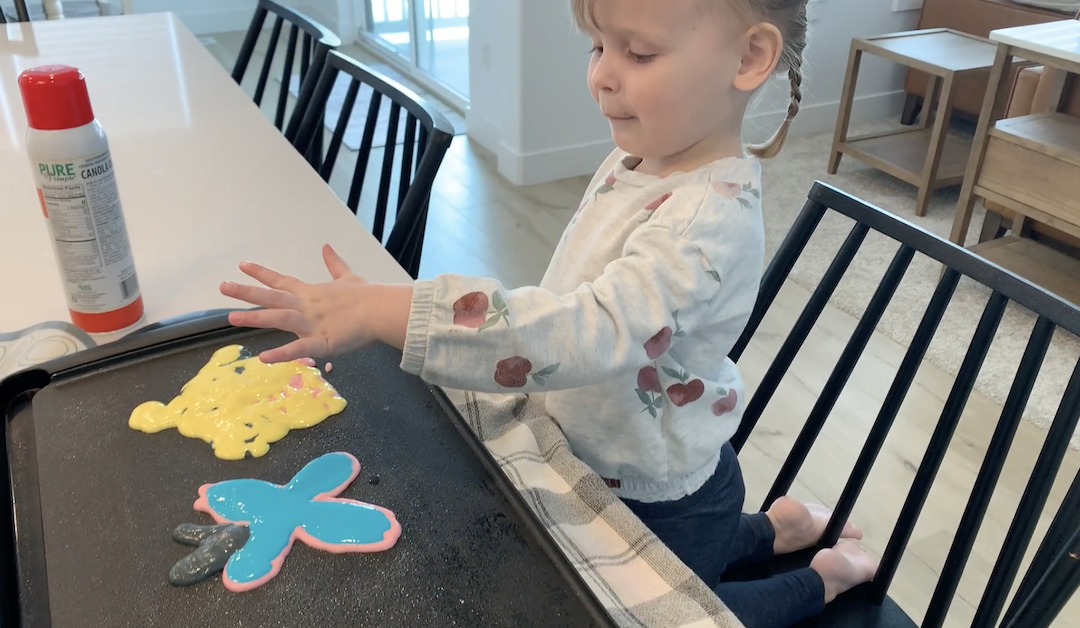
The point is, kids will want hands-on experience making pancake art. They don’t just want to sit back and watch you make art, fun as that is for you. Give your child a squeeze bottle full of colored pancake mix and let them create. To make this possible, I always leave the grill OFF while the kids are painting. That way, no one has to worry about burns. It will heat up soon enough once you turn it on.
Supplies You’ll Need For Pancake Art:
- A non-stick griddle, if possible, or a non-stick pan if you don’t have a griddle.
- Pancake mix (any brand should work well)
- Food coloring (gel coloring gives you the most vibrant color)
- Squeeze bottles for piping the pancake mix onto the griddle. You’ll need a minimum of 4, but the more bottles, the more colors you can make.
- A large pancake spatula
- Some patience, some creativity
Mixing Your Pancake Mix:
- Mix a big bowl of pancake batter. You’ll probably need to add a little more water than the package instructions recommend.
- Your batter should flow quite freely from the bottle without lumps. One tutorial says to make it the consistency of “runny ketchup.”
- Pour the batter into your squeeze bottles using a funnel, or pour from a measuring cup with a spout edge
- Add the food coloring and stir it all up with a table knife (or shake the bottle if you are confident the top won’t come off).
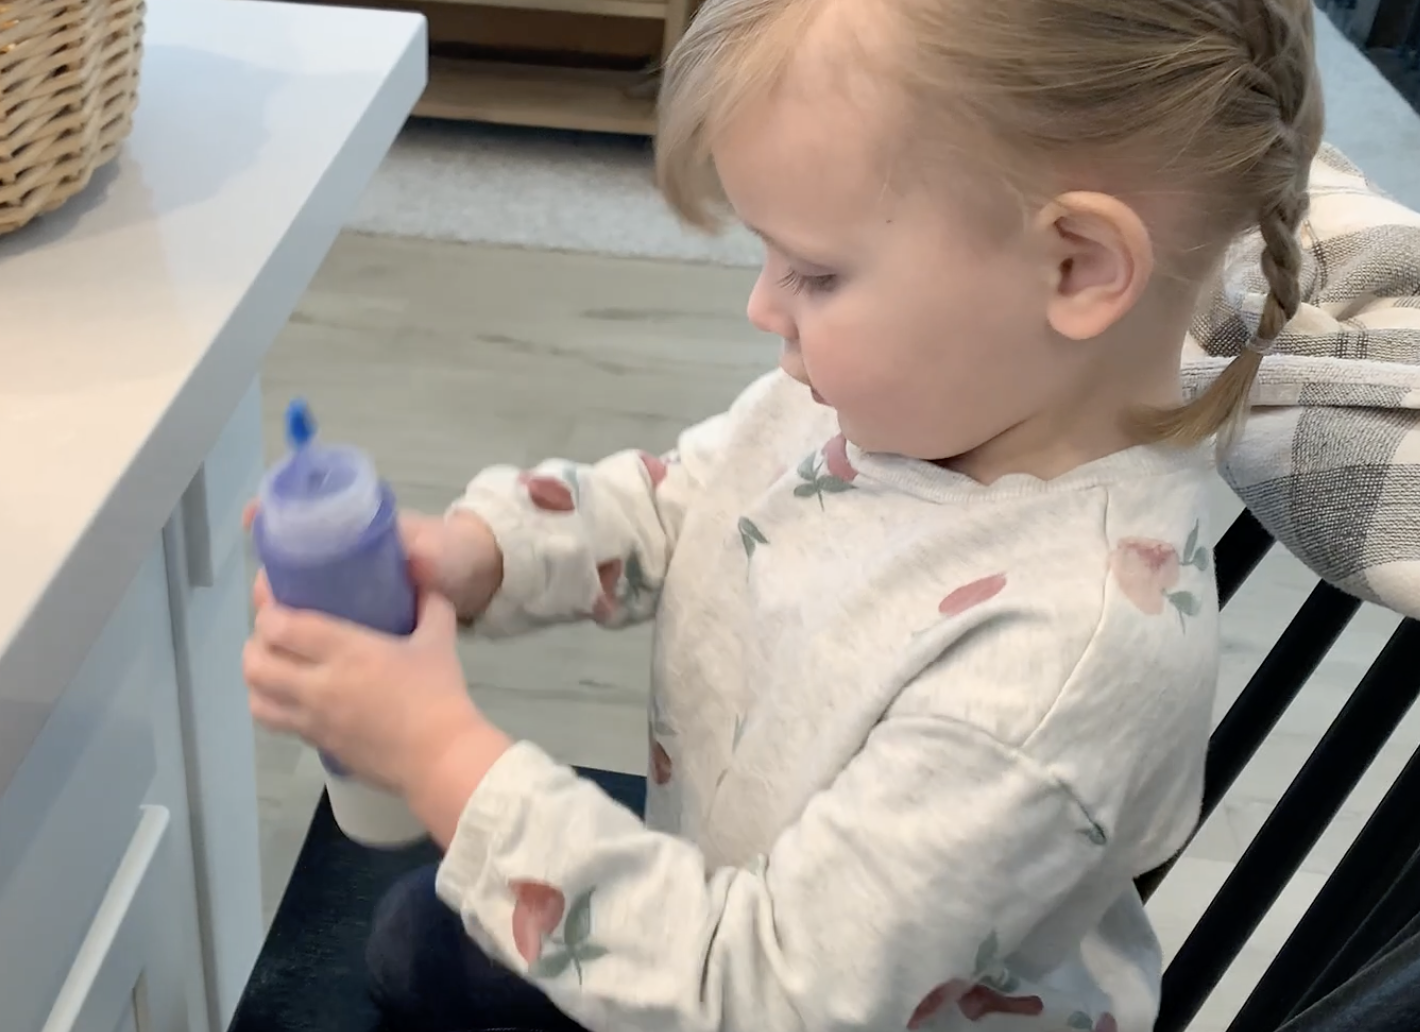
This color-mixing part is definitely part of the magic of pancake art. Let the kids try out a couple of “new” colors by mixing different colors of gel coloring into your batter.
Here are some important Pancake Art tips to remember:
- The pancake batter needs to be lump-free in order for it to flow freely from the squeeze bottles. Make sure you have beaten out all of the lumps. Use a hand mixer or a whisk.
- This may make finished pancakes a bit rubbery, but you can cope for the sake of art. Keep a toothpick nearby to help remove clogs if they happen.
- Start with a cold, greased electric griddle. This eliminates the risk of burned fingers.
- Try laying down an outline in a dark color first. This gives your design a “fenced boundary” and it works pretty well for more intricate art.
- Next, fill in your outlines with other colors of batter.
- Remember that you need to write backwards if you are writing letters. You’ll also start with the details you want on top of the finished design. The final product will be a mirror image of what you squeeze out of the bottles. Try watching some professional pancake art makers on YouTube first to get the idea.
Cooking Pancake Art – Kids’ Version
- After the artistic creation is on the griddle, heat the griddle up to 200 degrees and wait until bubbles form throughout your pancake.
- Resist the urge to turn the griddle higher to speed up the process. You’ll brown the pancake and it will ruin the colors!
- Once it looks a bit dry around the edges. Loosen the edges with a spatula. Flip your pancake to see the MAGIC (and cook the other side).
- Your first pancake is likely to be a fail. Don’t give up!
- Let the griddle cool before making your next pancake. You can also lay a kitchen towel over the edge where kids are most likely to touch it.
- If you are worried about a young child too close to a hot griddle, try having her hold the squeeze bottle with an oven mitt or have her hold the bottle while you guide her hand and keep it well away from the hot surface.
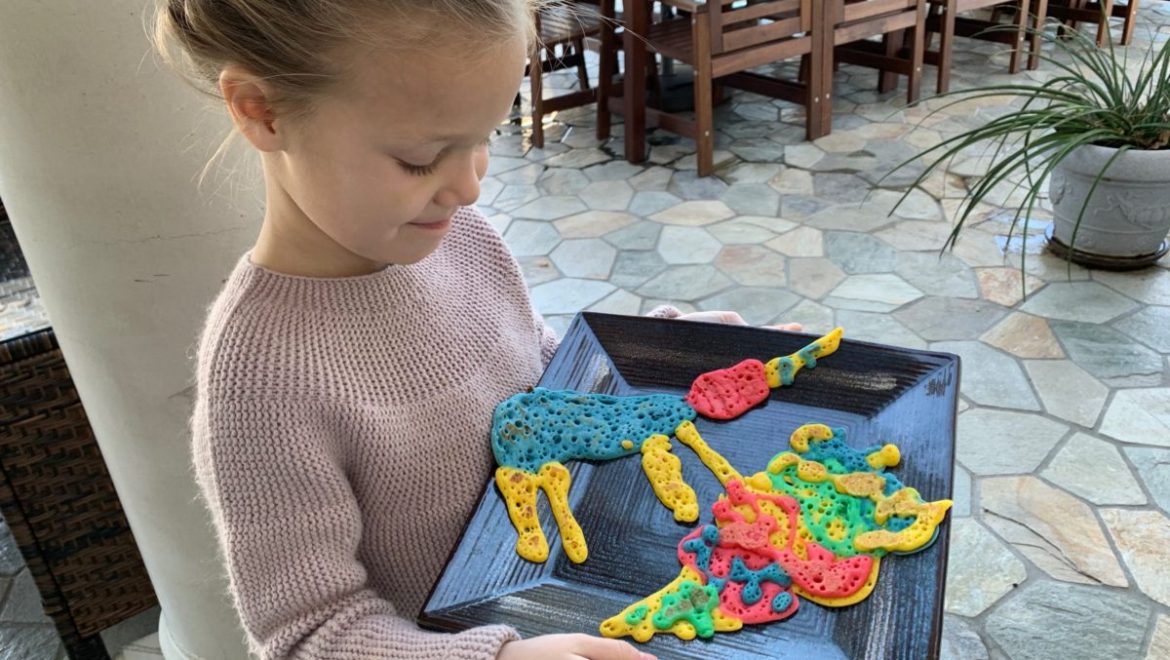
- Keep it simple! Child-driven designs are easy and completely appropriate.
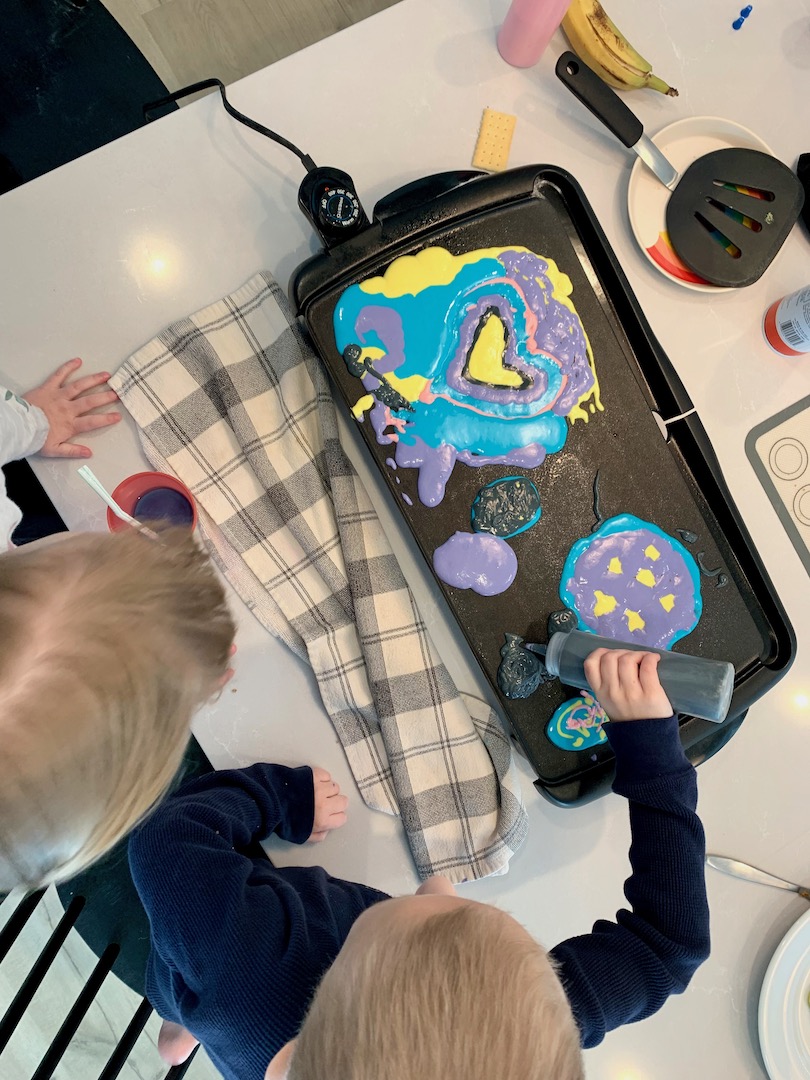
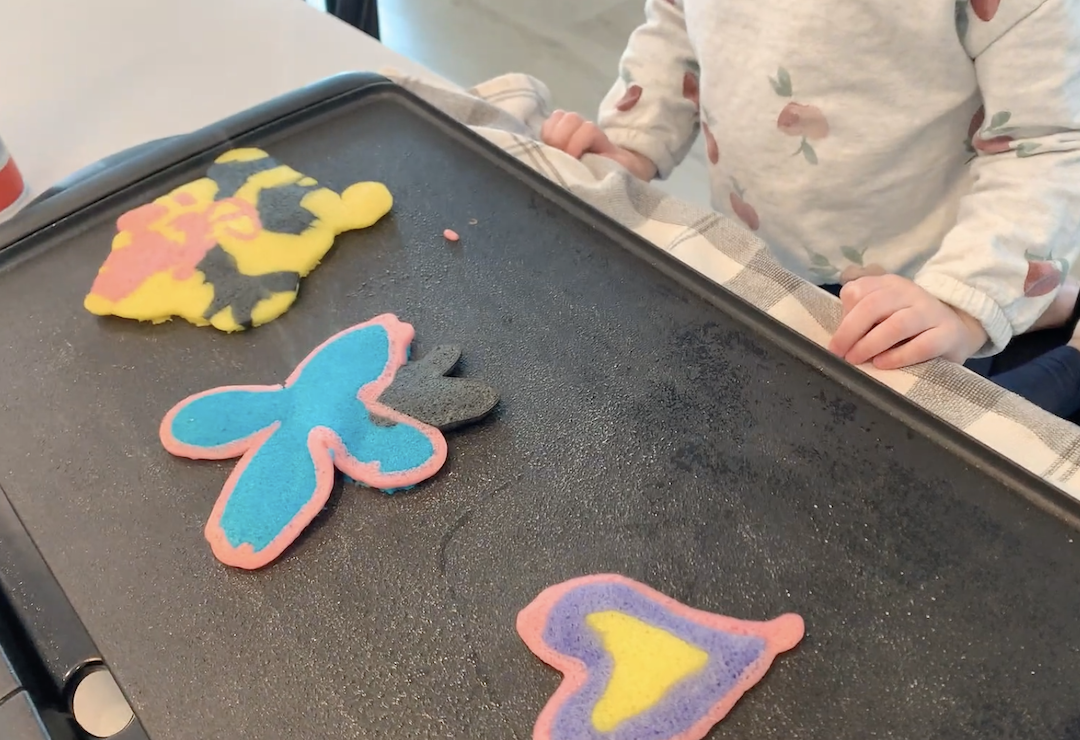 The real magic happens when your pancakes are flipped over. Keep your griddle at very low heat to keep your designs from turning brown.
How Pancake Art Got Started:
After you and your kids have had some fun, here’s a true story you can share:
Many people credit Nathan Shields with being the first true “Pancake Artist.” He’s a stay-at-home Dad and part-time illustrator who loved making pancakes for his kids. One day he shaped a unique pancake with a spoon, posted it on Facebook, and the rest is history. He now uses a squeeze bottle just like you. His children always get to create with him.
If you are still feeling a little bit uneasy about your shaky pancake art skills, meet Dan of Dancakes.com who was working as a fry cook and trying to get his indie band, the Psychedelic Psycho Nuts off the ground. One day, he decided to cheer a customer up by making a pancake with a smiley face (which garnered him a $15 tip). Today, Dan works full-time as a pancake artist and his viral YouTube videos are proof that if you can’t make it as a drummer or a fry cook, there just may be a career for you in creativity. And pancakes.
Grandpa, the Pancake Artist
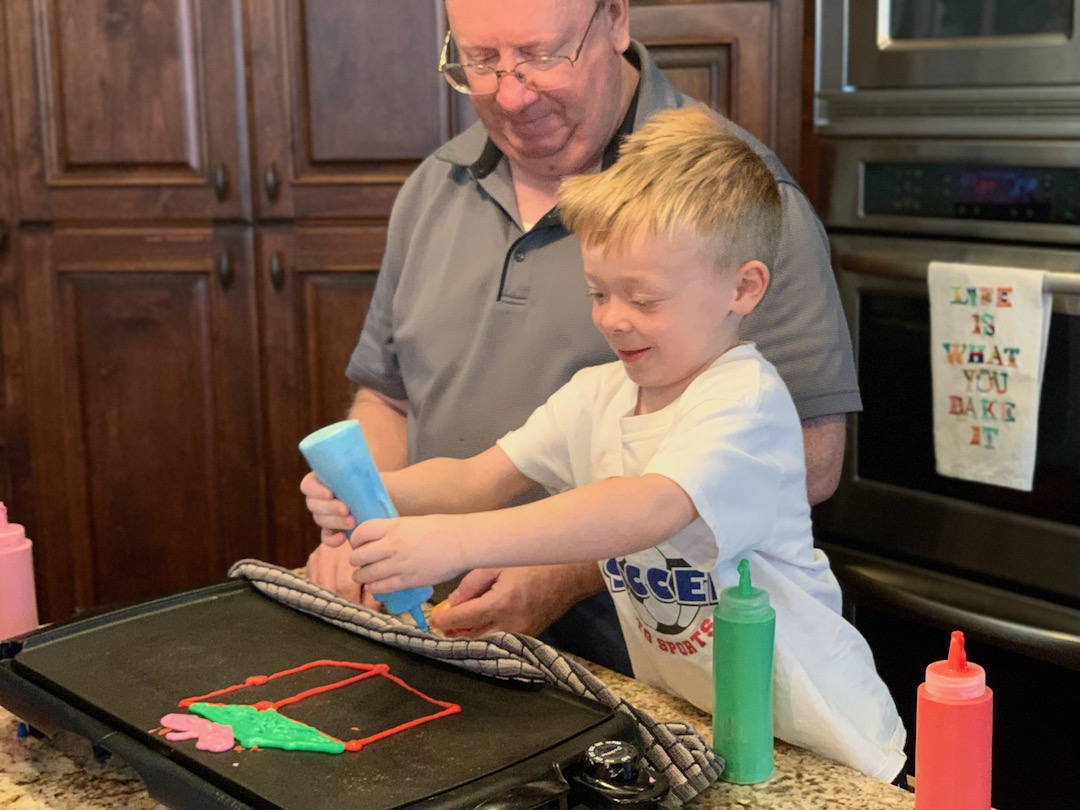
We don’t dress up or do hairstyles on pancake art day. It’s just a day for creating, and even Grandpa and Dads can be coaxed in for some fun!
If you have someone around the house who wants to be king of pancake making, you may also need this:
Send us your best pancake art to share on our Instagram channel, @playdate_box, or tag us in your own post.
Easy Pancake Art Inspiration:
If you are feeling a little shaky about your pancake art-making skills. Start with one of these very easy designs first. Don’t forget to draw the “details” first, and then cover them with a layer of plain pancake batter. Your art will be revealed after you “flip” your pancake to cook the other side.
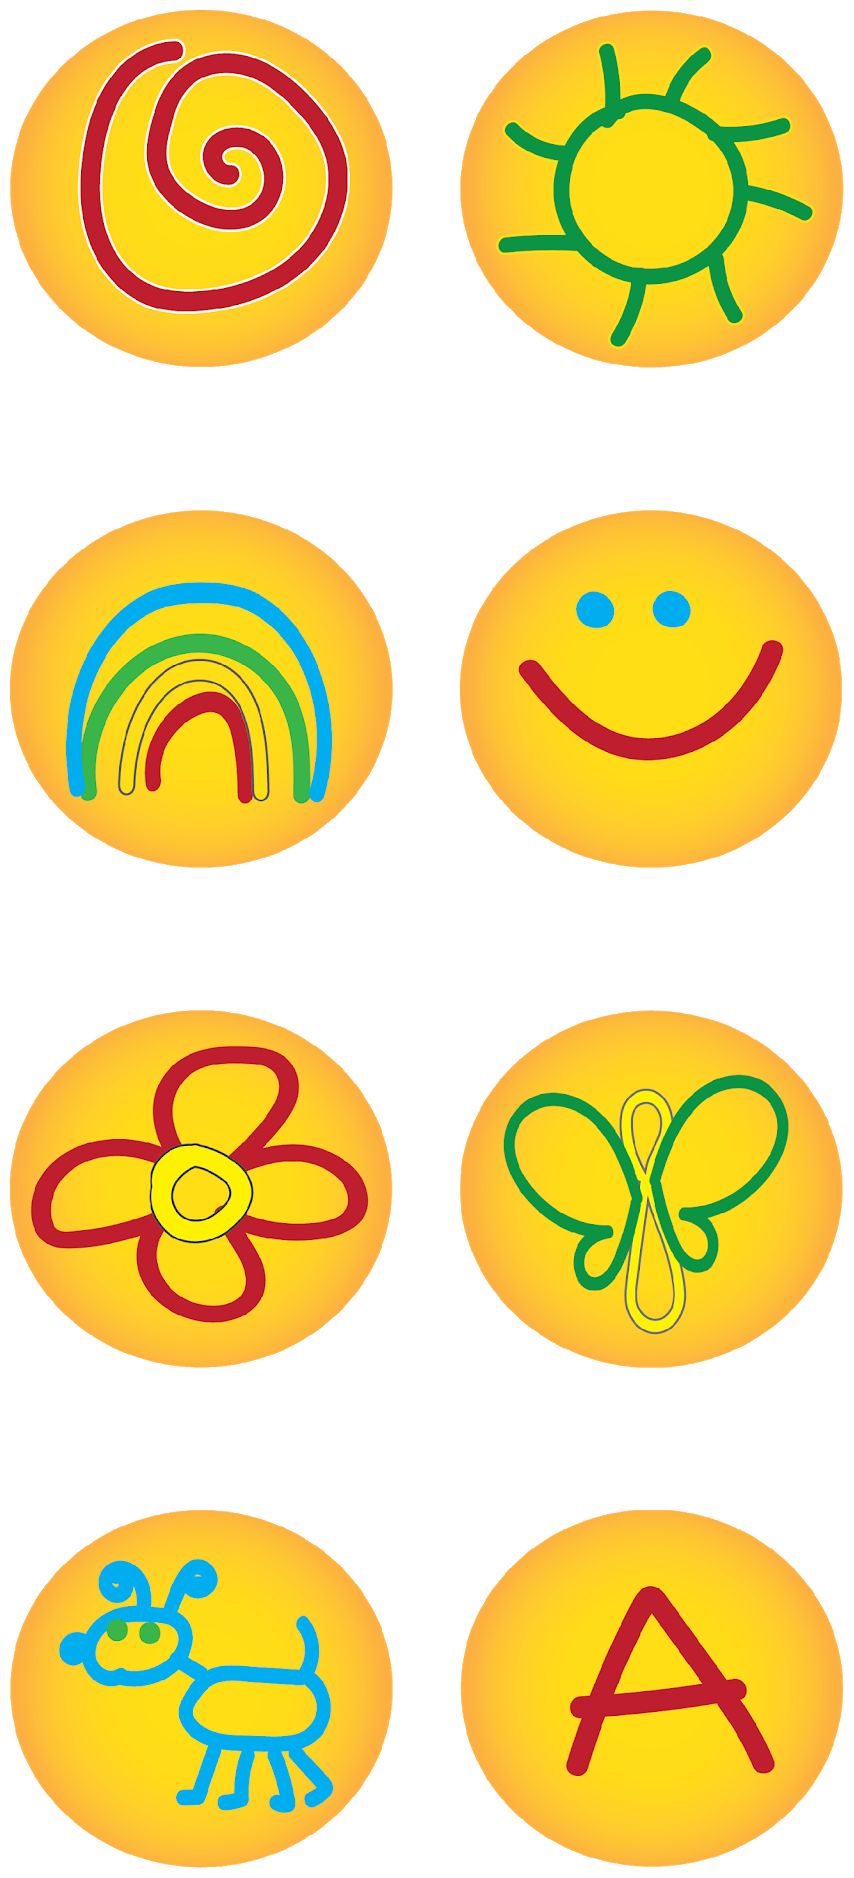
Or, you can simply draw your art in any shape using your colored batter.
