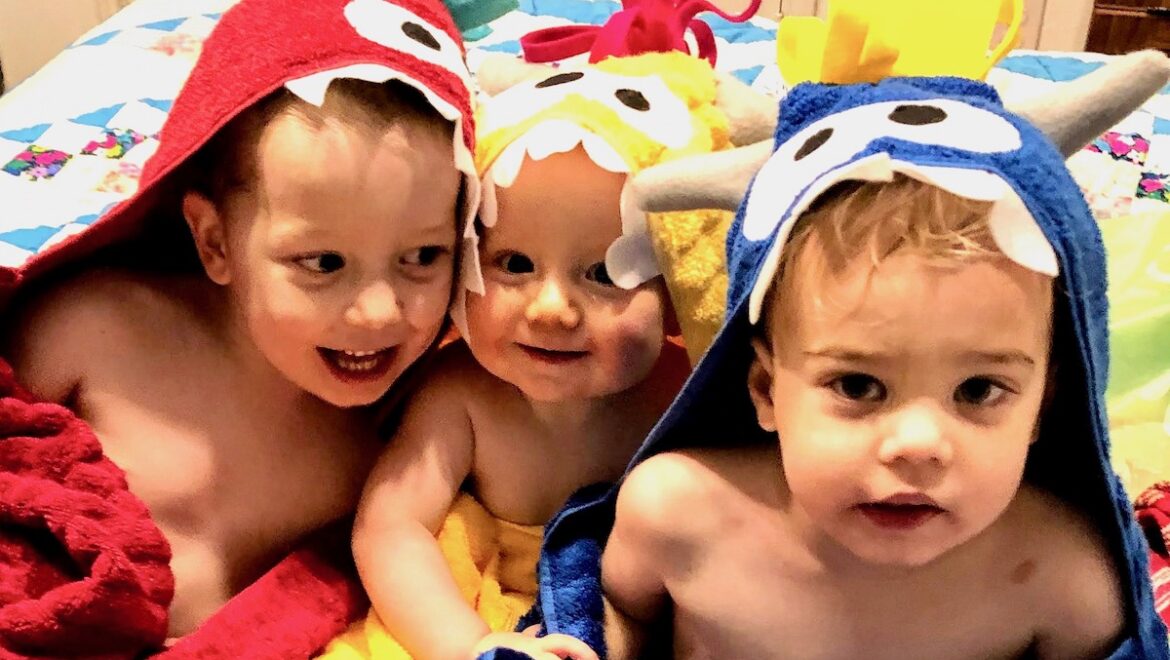
Welcome to a RaRaPalooza Wild Rumpus and a Where the Wild Things Are themed slumber party at Grandma’s house! My Grandchildren know me as RaRa, and so when there is a RaRaPalooza on the calendar, we gear up well in advance. I’ll show you some of the details in the event that you decide to “make some mischief of one kind or another” at your own house.
Valentine’s Day seemed like a perfect time to plan the shenanigans. This gives my married children a romantic overnight date night complete with free babysitting on MY schedule. More importantly, it gives me a chance to “roar some terrible roars” with three grandsons that “I could eat them up, I love them so.”
The Invitation to the Wild Rumpus!
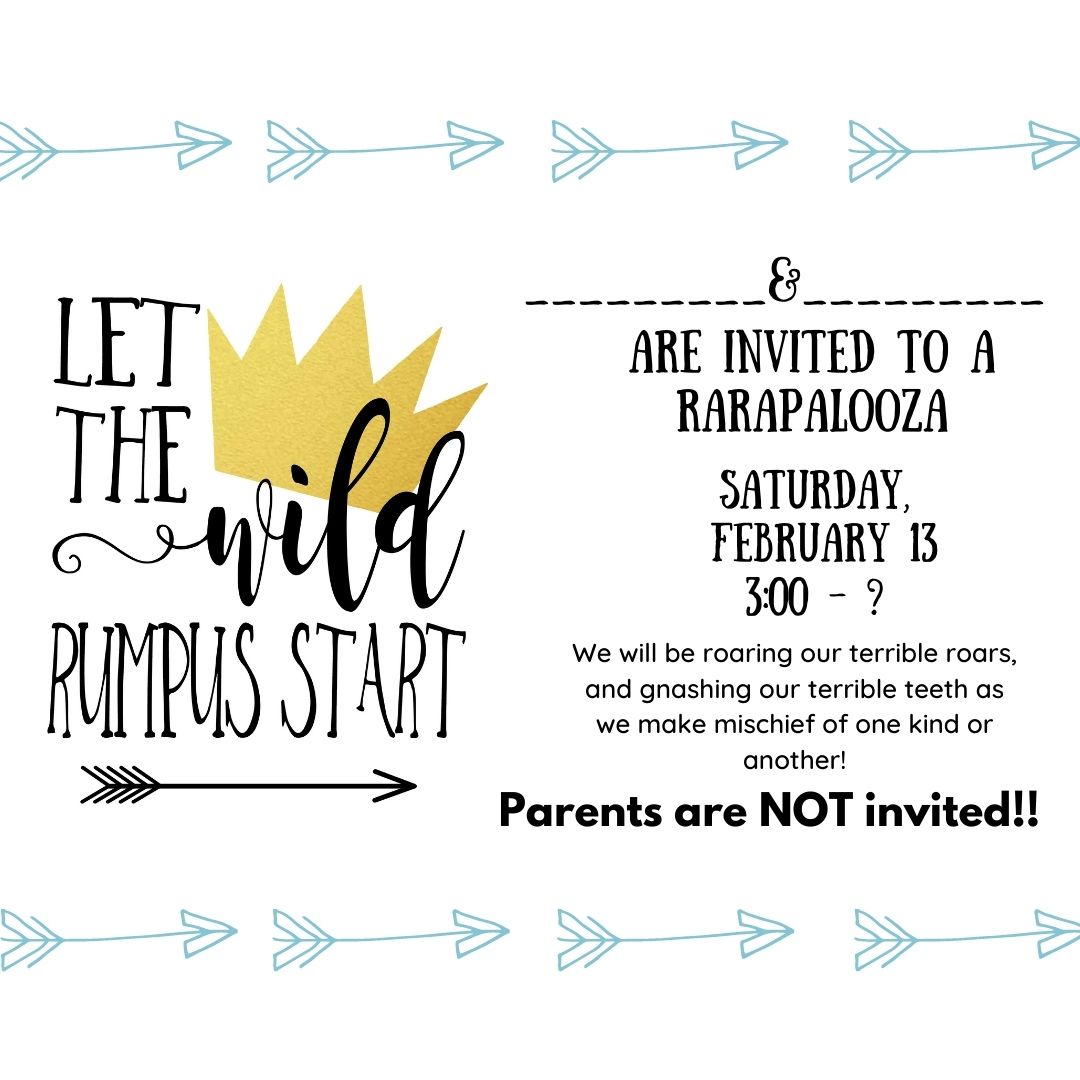
First, the party invites, because if you are 3 years old, getting an invitation in the mail is just about the coolest thing ever:
I created mine using a simple design in Canva, and you can access an editable version here.
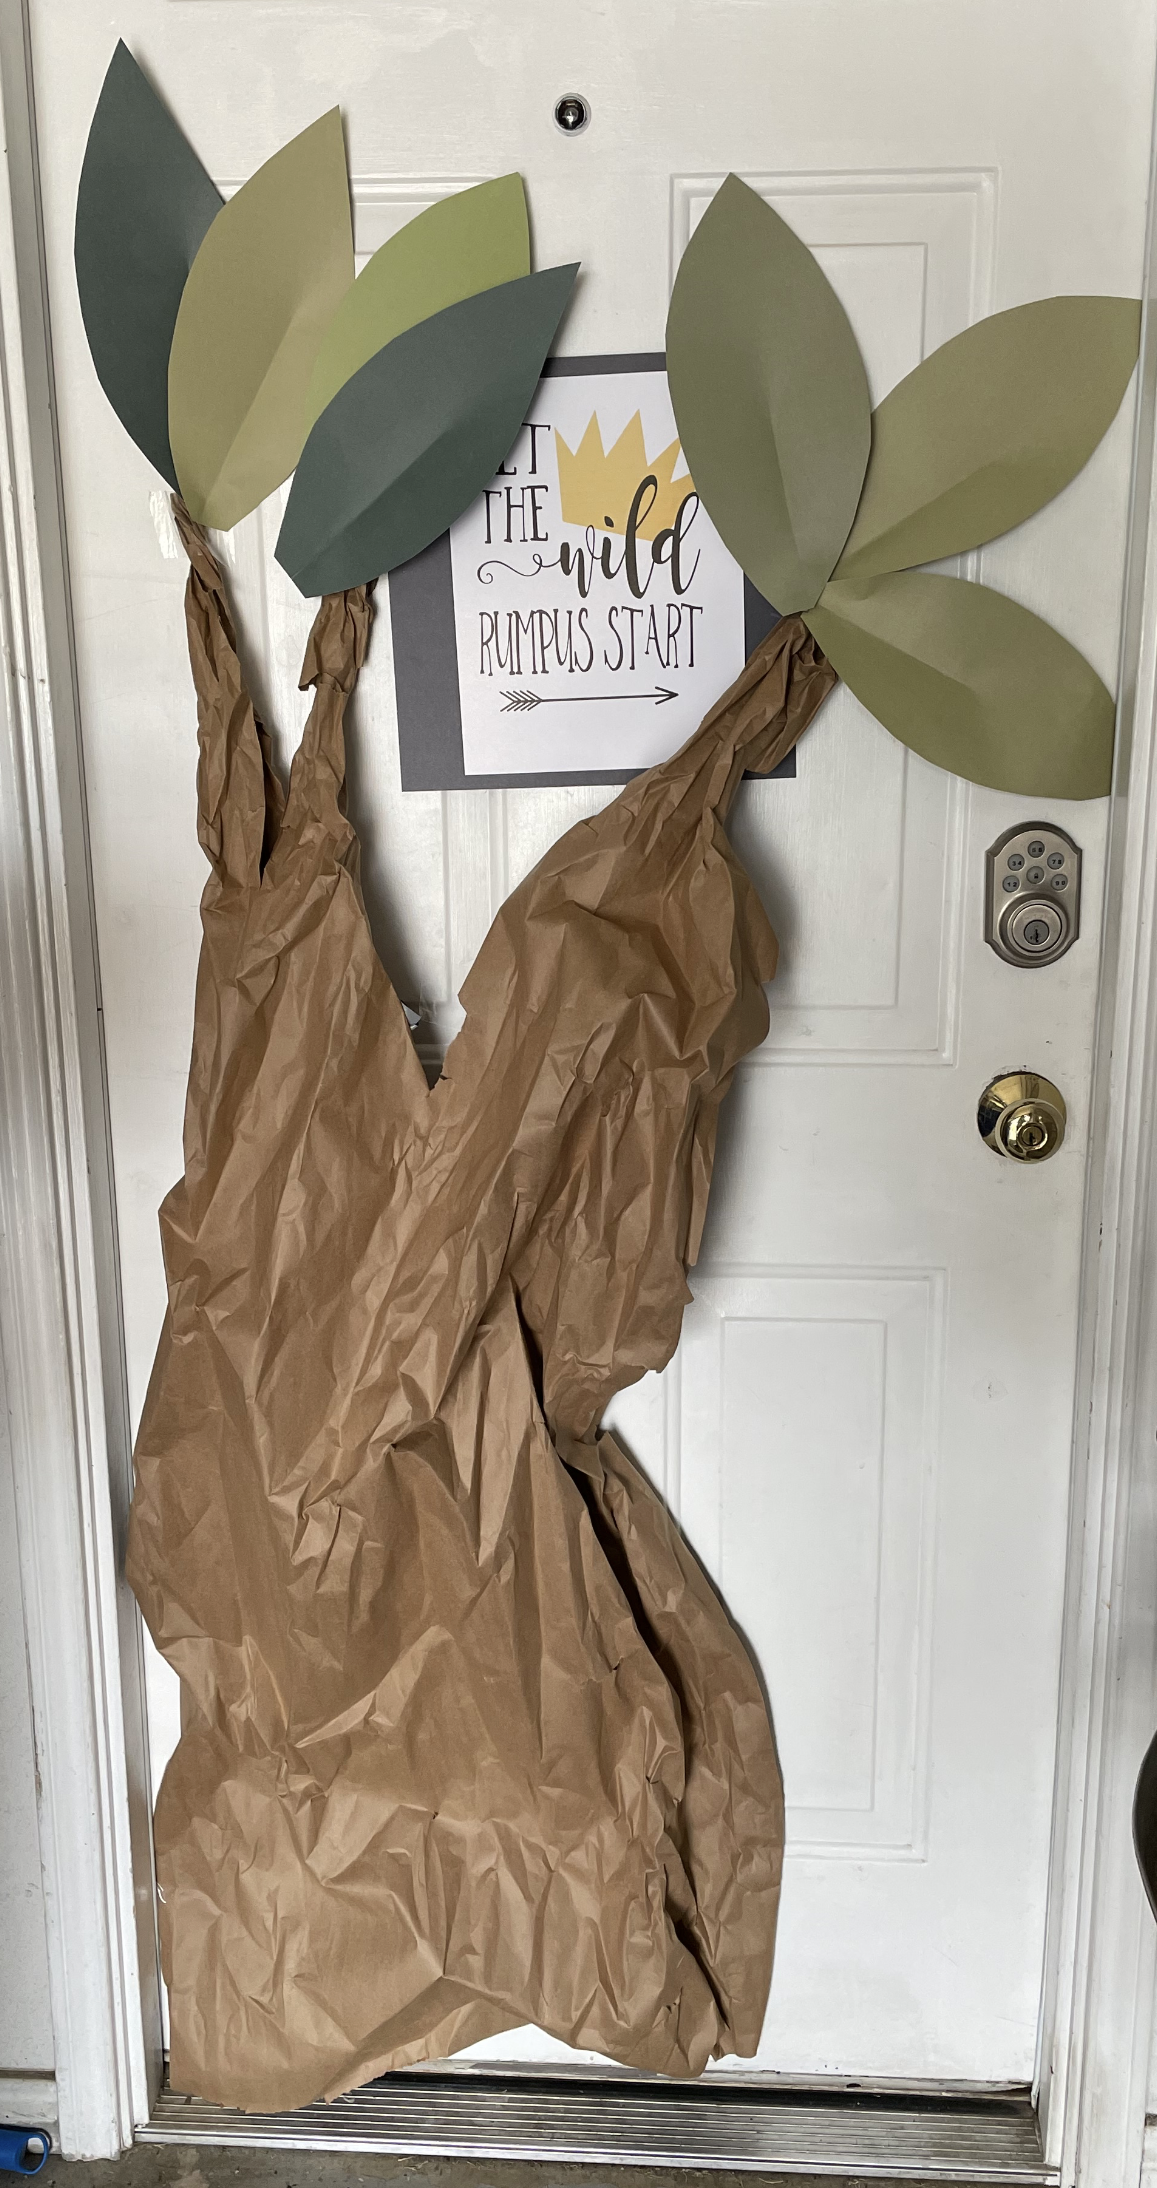
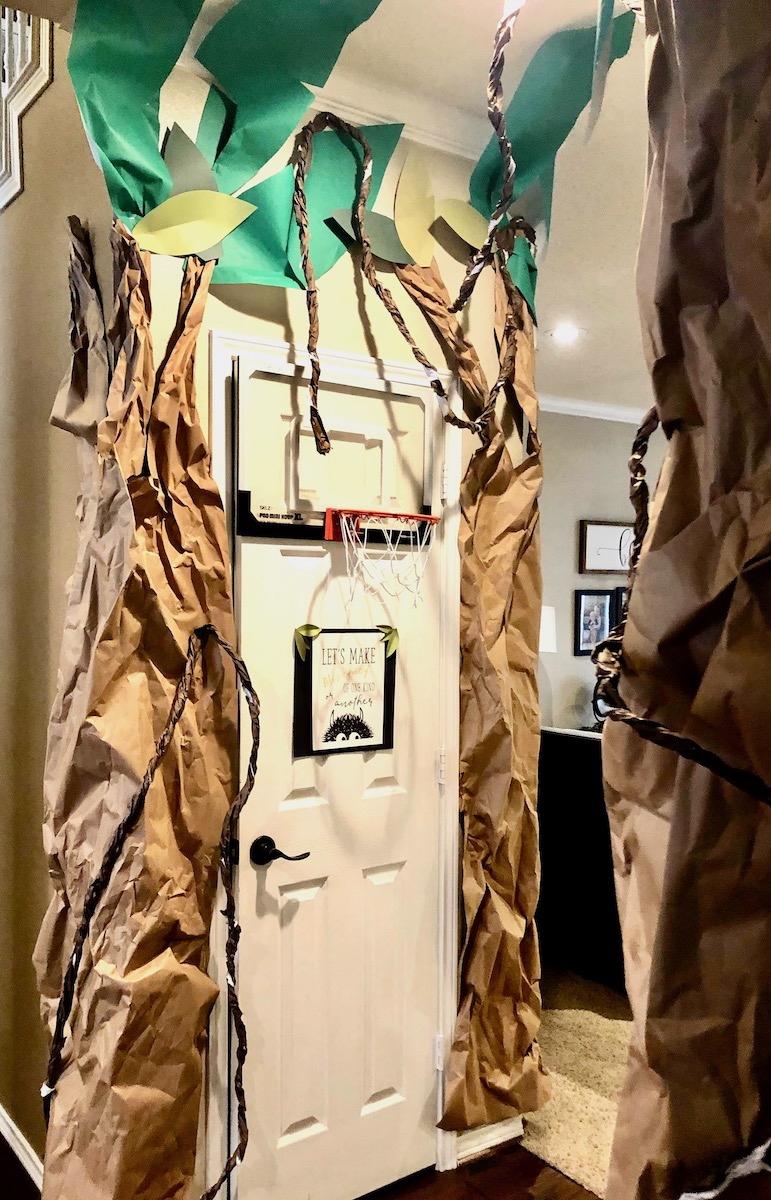
I created trees and vines using brown kraft paper. You can scavenge this from packages you receive or purchase an inexpensive roll from your favorite hobby store.
The Setup:
Making Your Walls The World All Around
Here’s the thing: I had big plans until an unfortunate accident involving my dog, my chin, and some stitches unraveled my schedule. When my friends and family question my sanity, then I know I’m on to something. I’ve always loved to play, and as one neighbor of mine who was famous for over-the-top party plans used to say, “more is always more” when it comes to parties. [I once painted my garage floor and walls black for a birthday party – but that’s a tale for another day]. It scratches a creative itch for me, and so even if no one else saw my efforts, and even if my grandkids don’t care, I sure do, because it’s the planning and the creating that is half the fun for me and can be pretty magical for the kids too. The first layer of a party theme is to start with the ambiance. This included:
- Trees and Vines
- A Private Boat
- The Ocean
If you are going to do justice to creating your own Where the Wild Things Are venue, you are going to need vines. Lots of them. And trees, and possibly an ocean, so here’s exactly how I did it:
Supplies needed:
- A large roll of brown craft paper
- Another good-sized roll of green craft paper
- An ocean mural because who does not need an ocean mural on their living room wall in February?
Using instructions I found on the alwaysexpectmore.com blog, I crafted several paper trees using lots of twisted brown paper. You could do as the original designer did and just re-purpose some packing paper from your Amazon and FedEx deliveries, but I was going big. And yes, I did staple these right into my walls and ceiling because Stapling Things to Walls 101 was required curriculum when I went to college to get a degree in such things. If you don’t want staples in your walls, tape would also work, but would not be nearly as much fun and you can bask in the memories when you’re carefully removing the staples after the kids go home.
I cut large leaves out of the green paper, and twisted 6-inch x 96-inch ropes of the brown kraft paper to make the vines. If I had been on my game, I would have transformed the entire living room into a tree hut complete with an ocean mural on the walls – but as my time for preparations dwindled, I had to scale it back a bit. (In retrospect this might have been a good thing).
These tree trunks are incredibly easy to make. I put four tree trunks in each of the four corners of the room and then stapled leaves all over the ceiling. The roll of green craft paper I had on hand was not nearly as big as the one I’ve linked to above, which meant I had to pick a smaller spot to build my forest. This was a major bummer because a complete forest in the living room would have been really epic, but it also would have required a few of hours that I did not have to complete it (the grandkids were impressed as it is, so it all ended well).
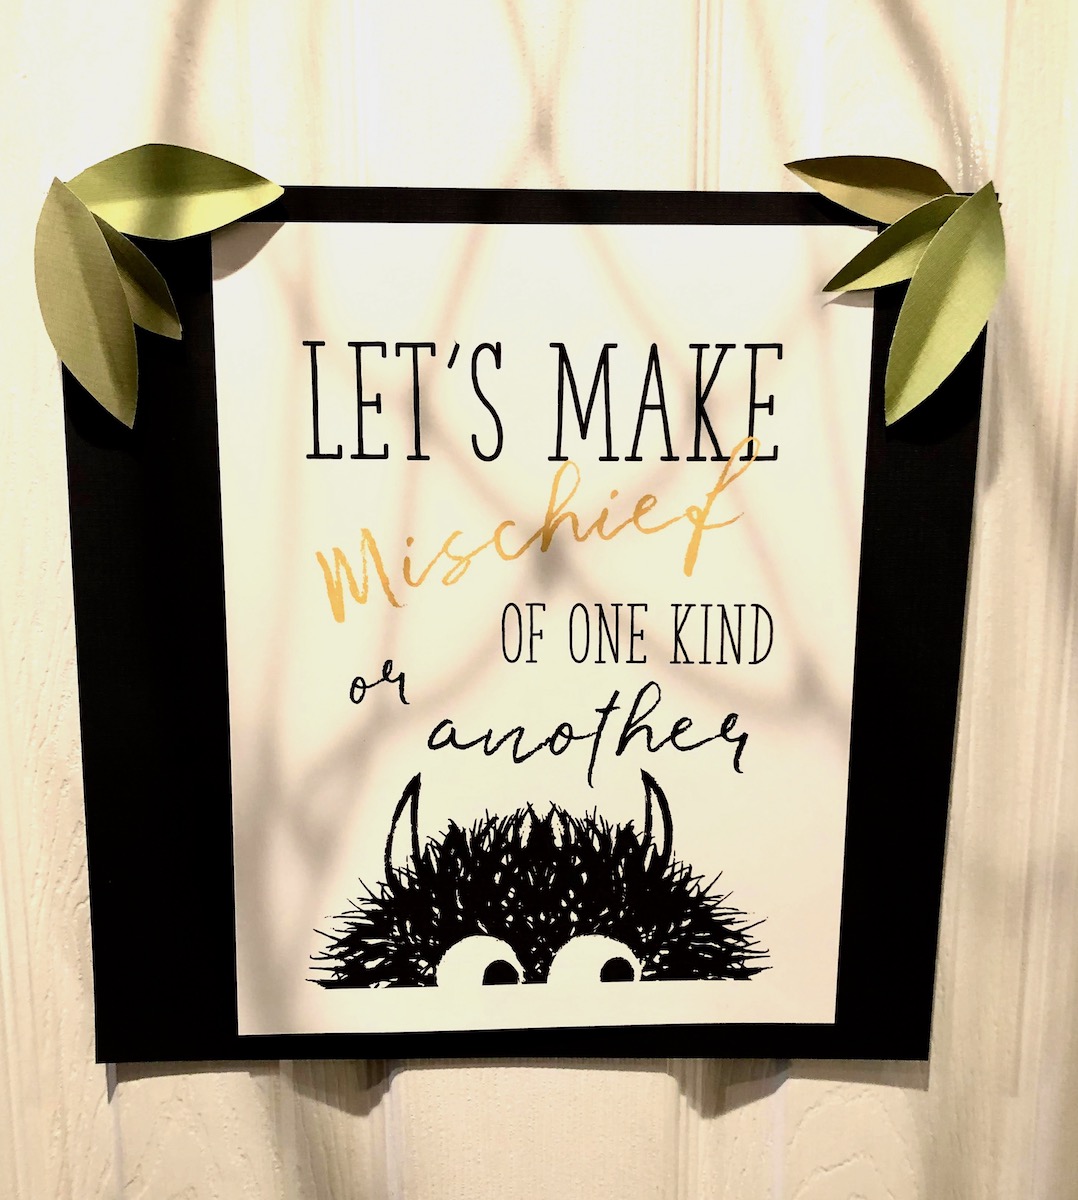
I built another small tree over the back door entrance I knew the kids would be using when they arrived and added some fun signs so my adult children would know how cool their children’s grandma really is. I found templates for these from a great seller on Etsy.
Activities: “Let the Wild Rumpus Start!”
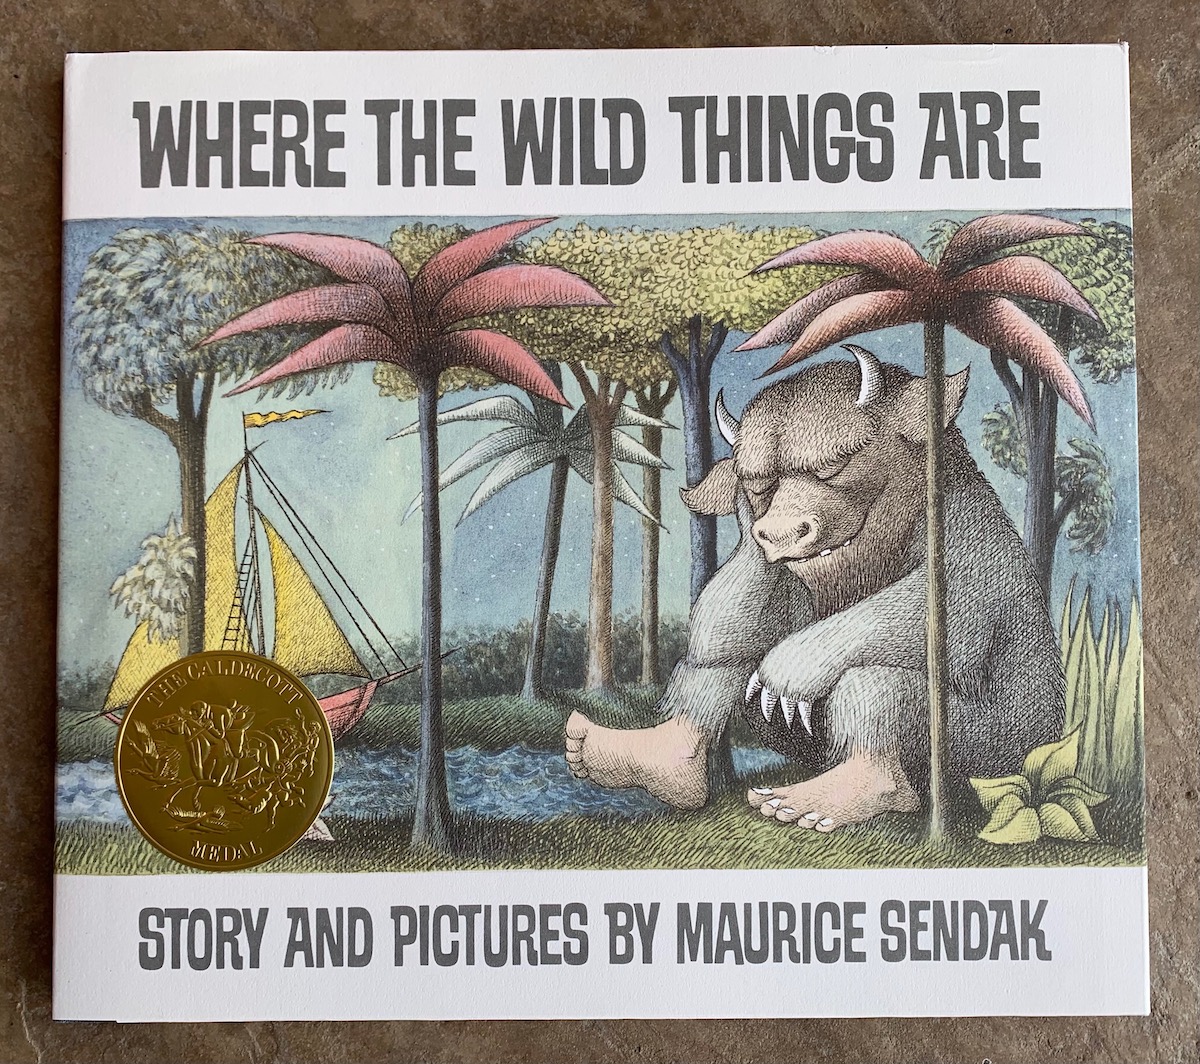
Read the book!
We actually read it several times, which is always the mark of a classic! It gets the “again, again” stamp of approval. Where the Wild Things Are is #4 on the list of the New York Public Library’s list of most checked-out books. I purchased a copy for each family to take home at the end of the weekend, and one to keep in my collection.
Have a Staring Contest
Max stares into the eyes of all of his magical creatures without blinking once. This is a fun game to play with children. You might be surprised at who wins! [HINT: It wasn’t me – not even close – is the fact that a four-year-old can go for minutes without blinking something I should be concerned about?]
March around and have a Wild Rumpus
Get out the rhythm instruments if you have them. Jump up and down, spin in circles, and even bump into each other. Right now is a great time to give children the go-ahead to be a little crazy. It’s a good time, if you are the grownup, to do a little reading on the importance of rough and tumble play as part of a child’s healthy cognitive development.
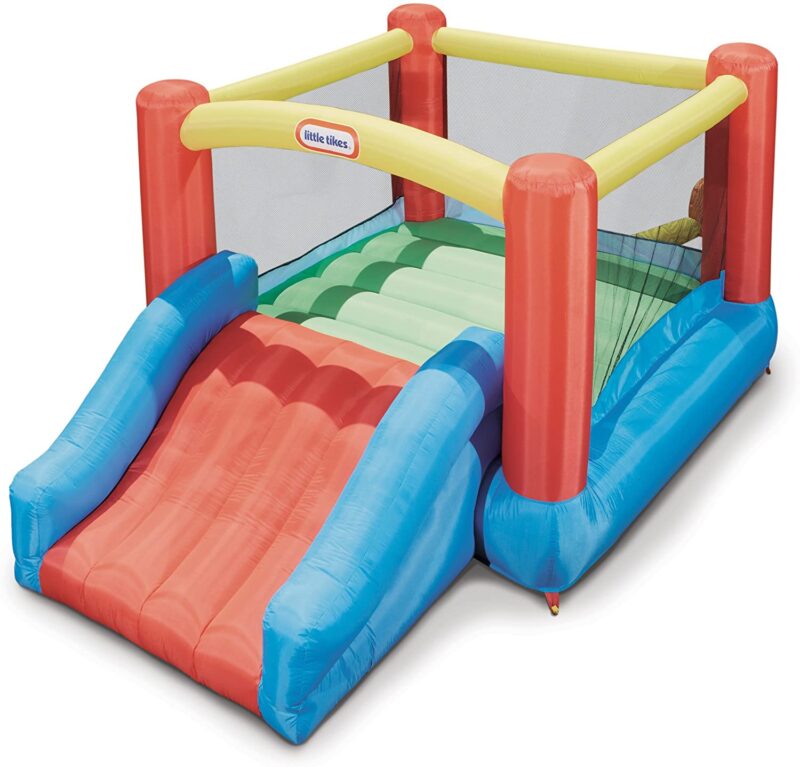
We get more than our money’s worth out of Grandma’s bounce house. Theoretically, it folds up and can be stored in between visits, but it gets heavy use with this crowd, and rarely gets put away. Grandma Nae has one as well, and it makes an appearance sometime during nearly every grandchild visit. If you are looking for a nice property for your old-age retirement home, and you plan to invite preschool-aged grandkids for a visit, make sure there’s at least one room in the house that is large enough to accommodate one of these babies! We have more than recouped its cost in use.
More RaRaPalooza Crafts and Activities
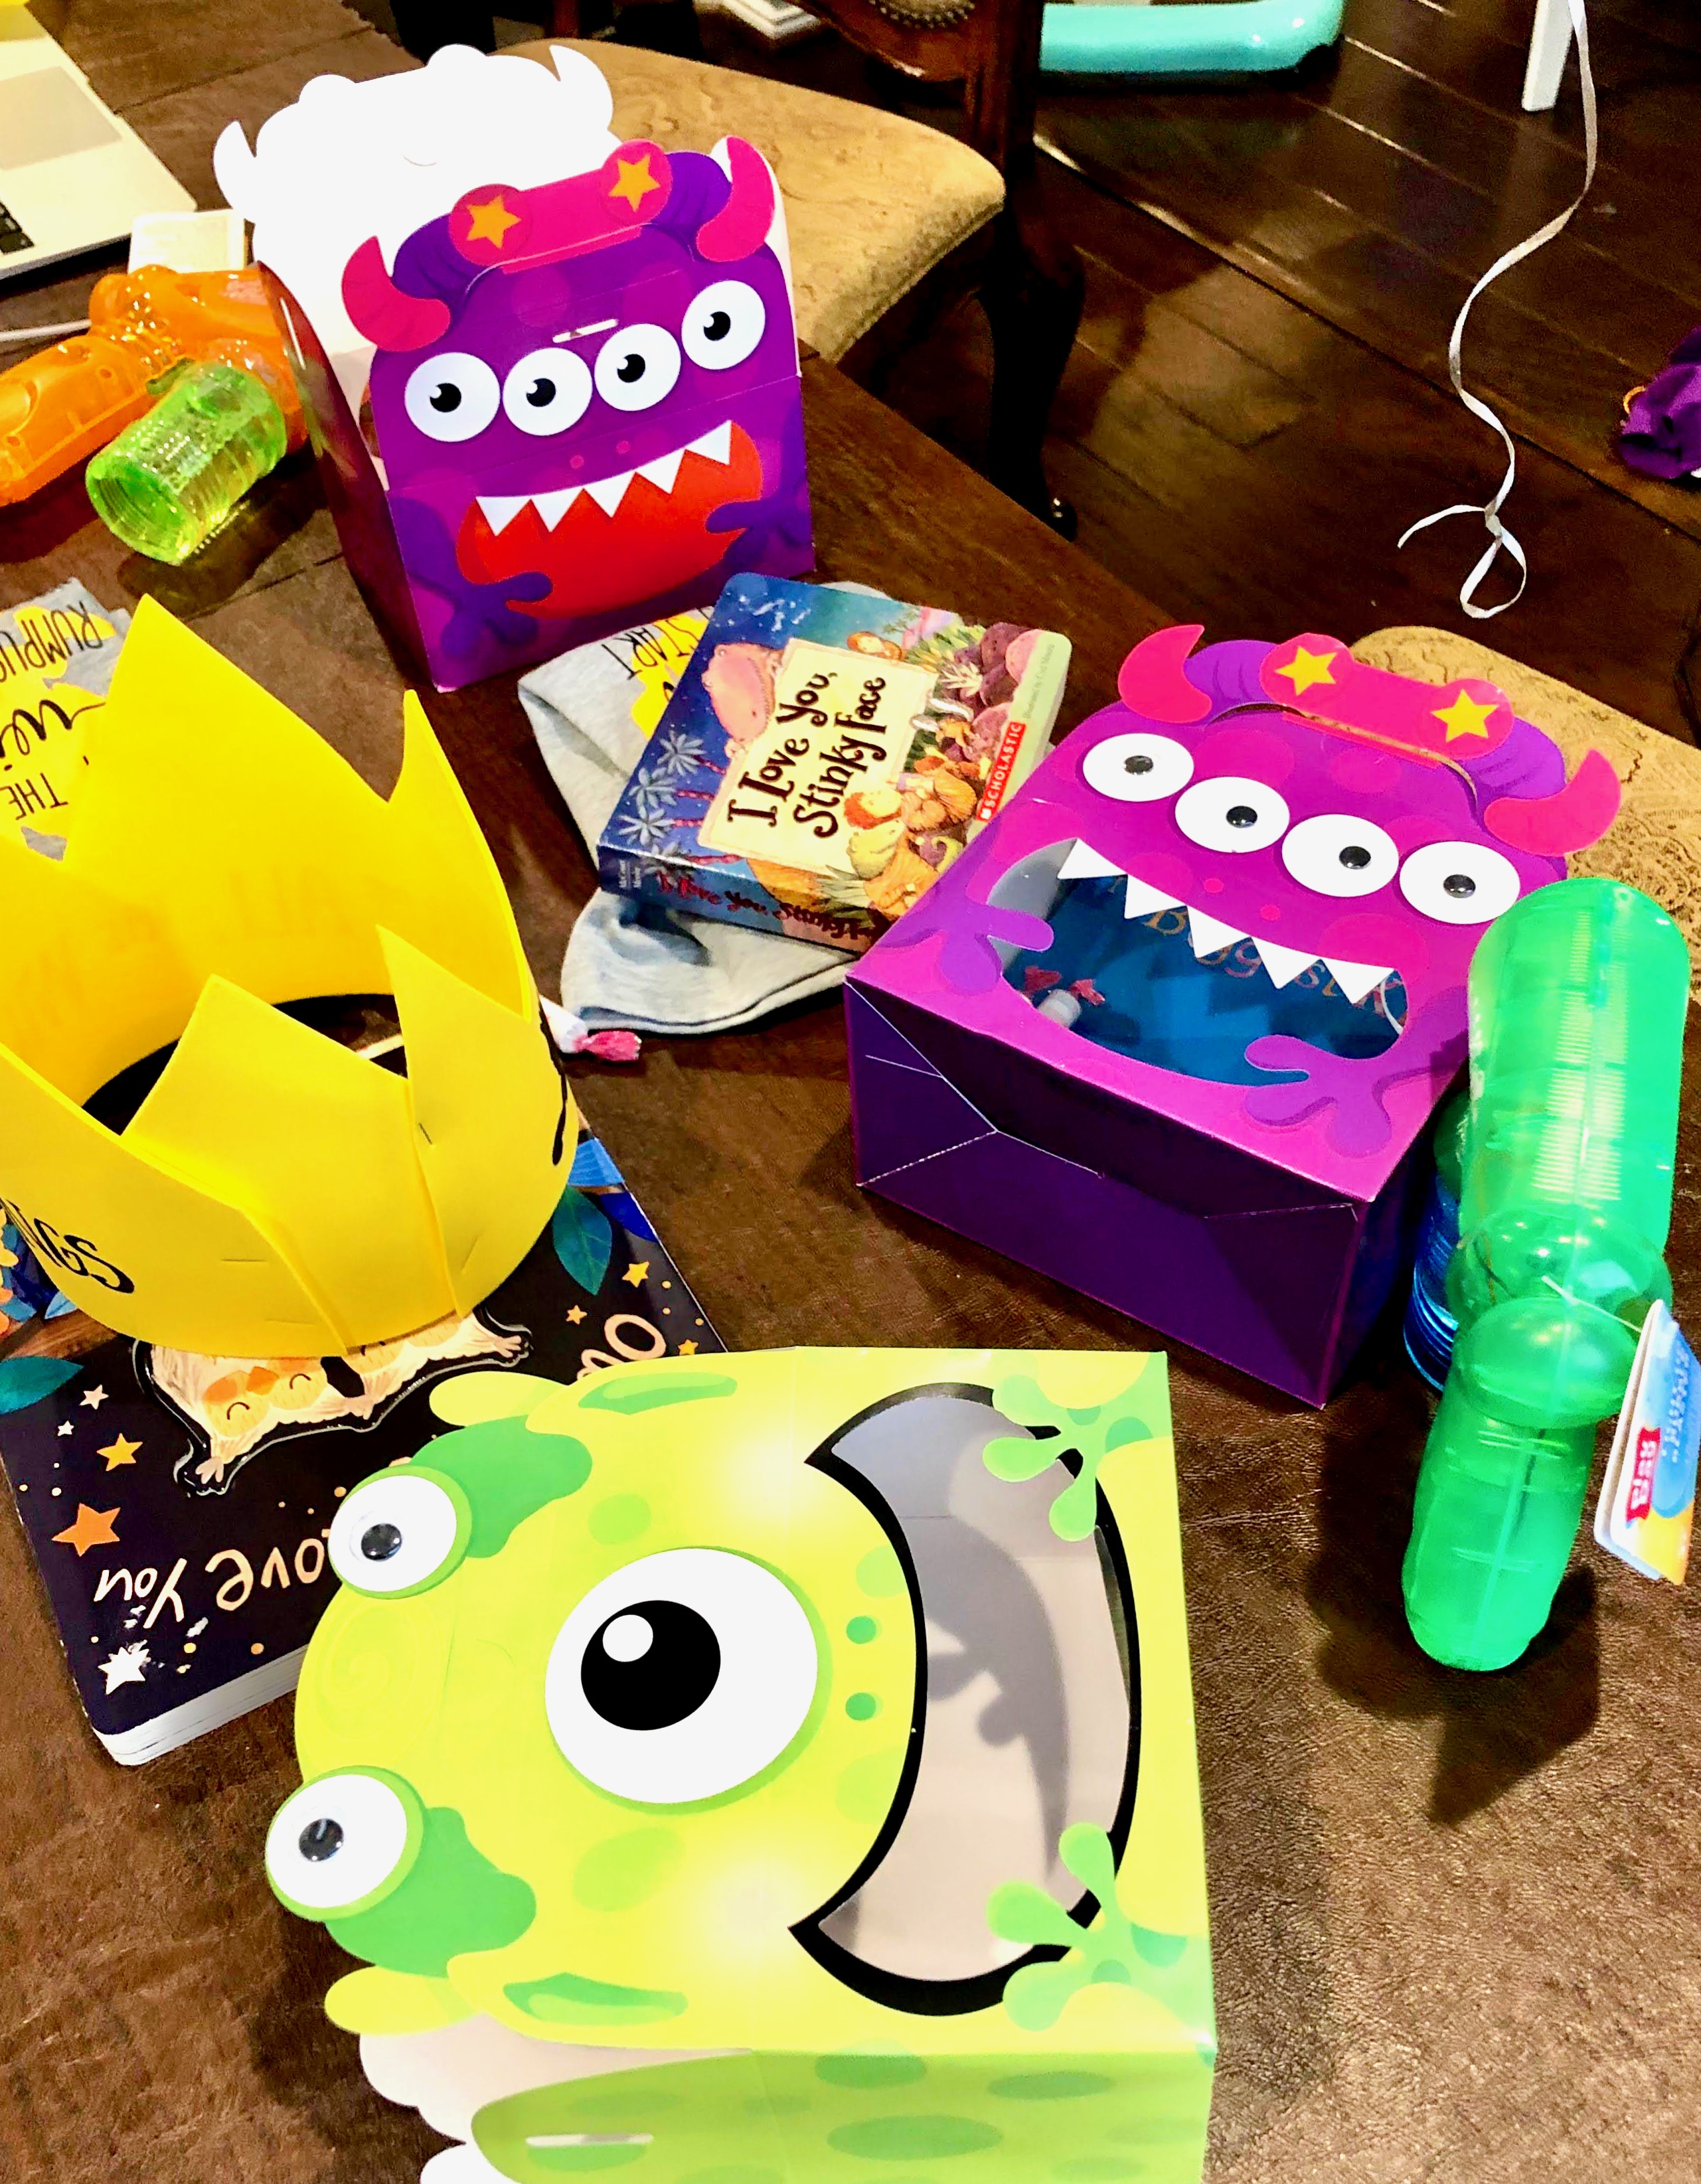
Make Monster Gift Bags
Because we were also celebrating Valentine’s Day, our monster gift bags included a few Valentine treats, a helium balloon, a set of personalized pajamas (see below), bubbles, and a book. Or, gift a hardback copy of Where the Wild Things Are! for your grandchild’s permanent home library.
Here’s another cute monster-themed drawstring bag you could use as a gift:
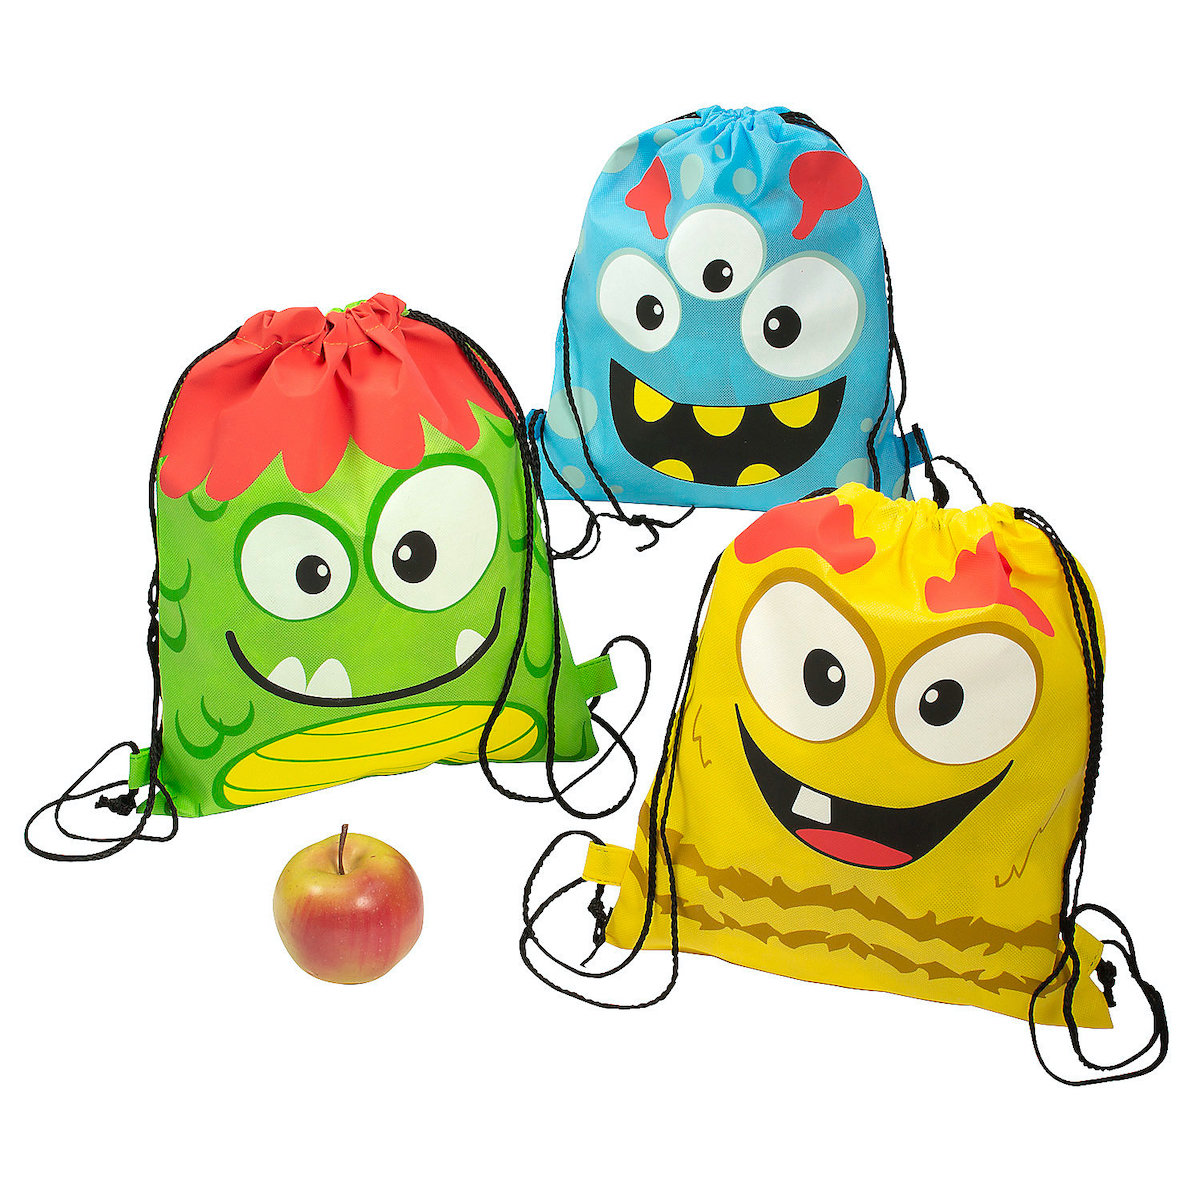
photo: Oriental Trading
Blow Bubbles
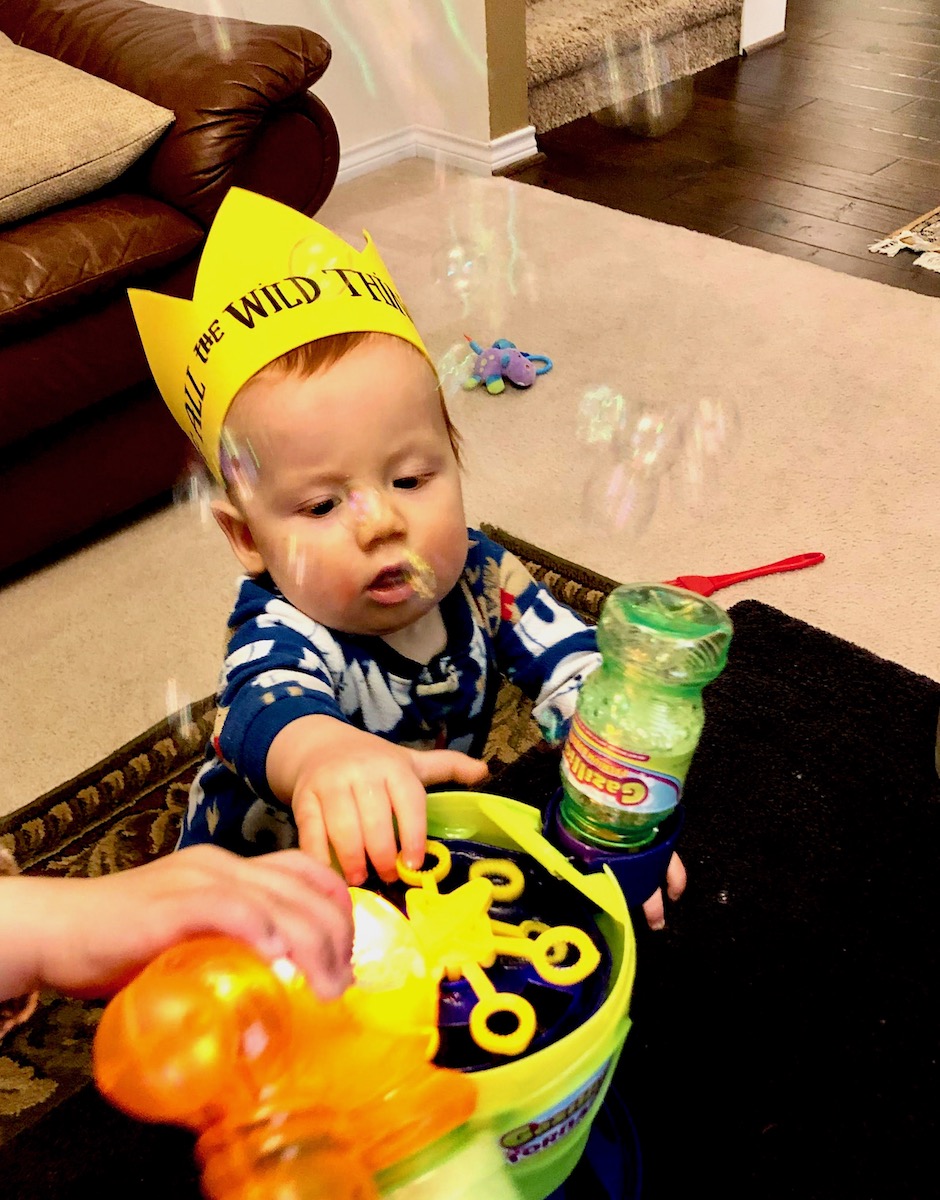
I happen to have a bubble machine in my permanent Grandma stash, so we pulled that out. And the boys also received bubble guns in their treat bags, so this was a lot of fun.
Wild Thing Monster Puppets
Older children can use supplies from your recycle box to create monster puppets out of simple paper bags. Younger children can have lots of fun creating sack puppets with pre-printed monster parts. We stuck some felt shapes and a lot of googly eyes on ours. Using big glue dots makes it easy for little hands to do their own projects with minimal adult interference.

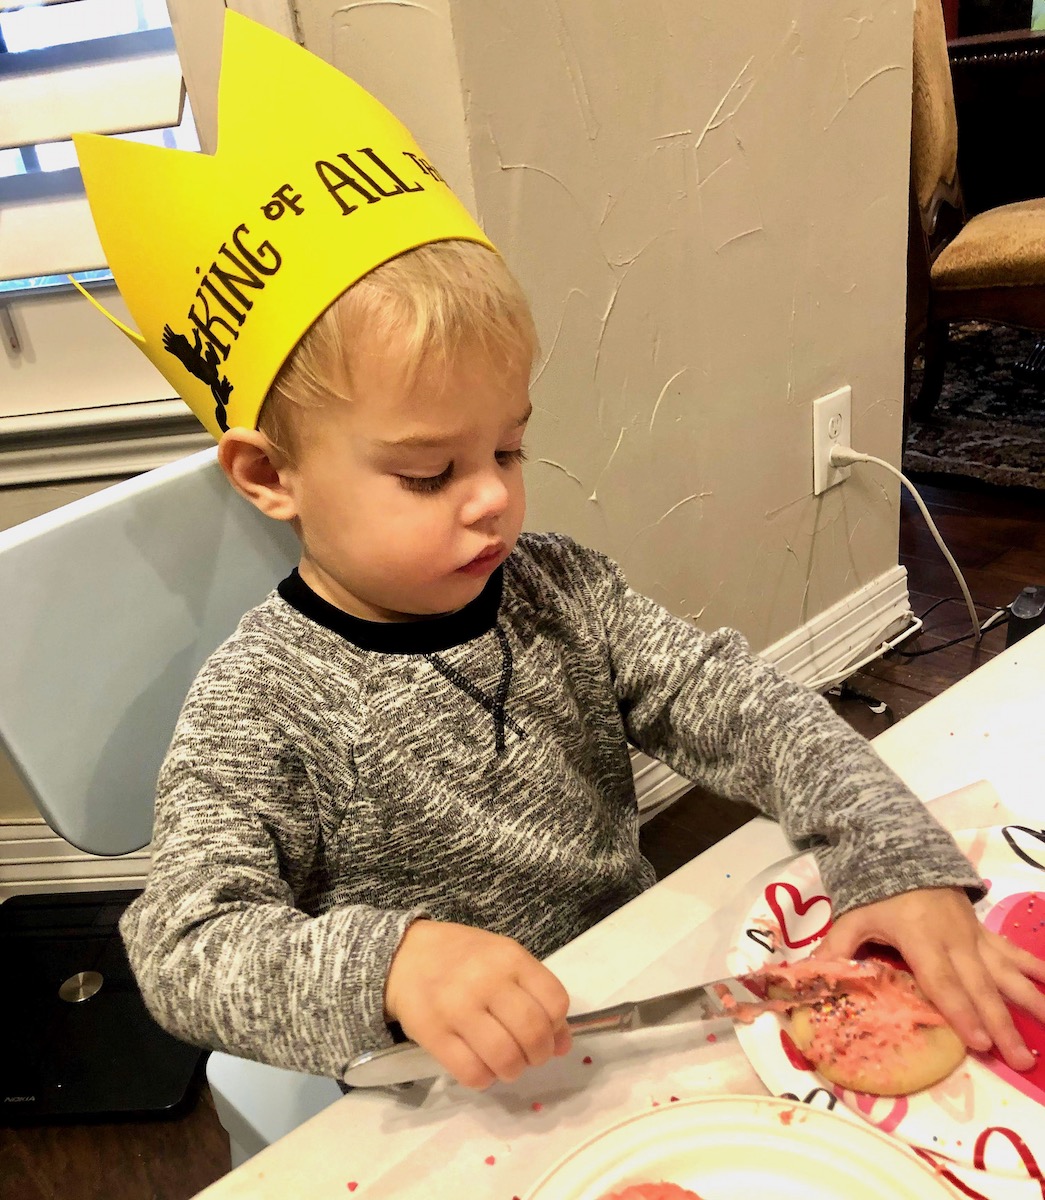
King of All Wild Things Crowns
I cut simple hats out of yellow foam and freehanded the writing and silhouette of Max – honestly, a total waste of time, but the boys loved wearing the crowns. Visit Pinterest to find lots of fun wild things crown tutorials. This is something I’d eliminate if I were trying this again. But they make for an adorable photo, so here they are:
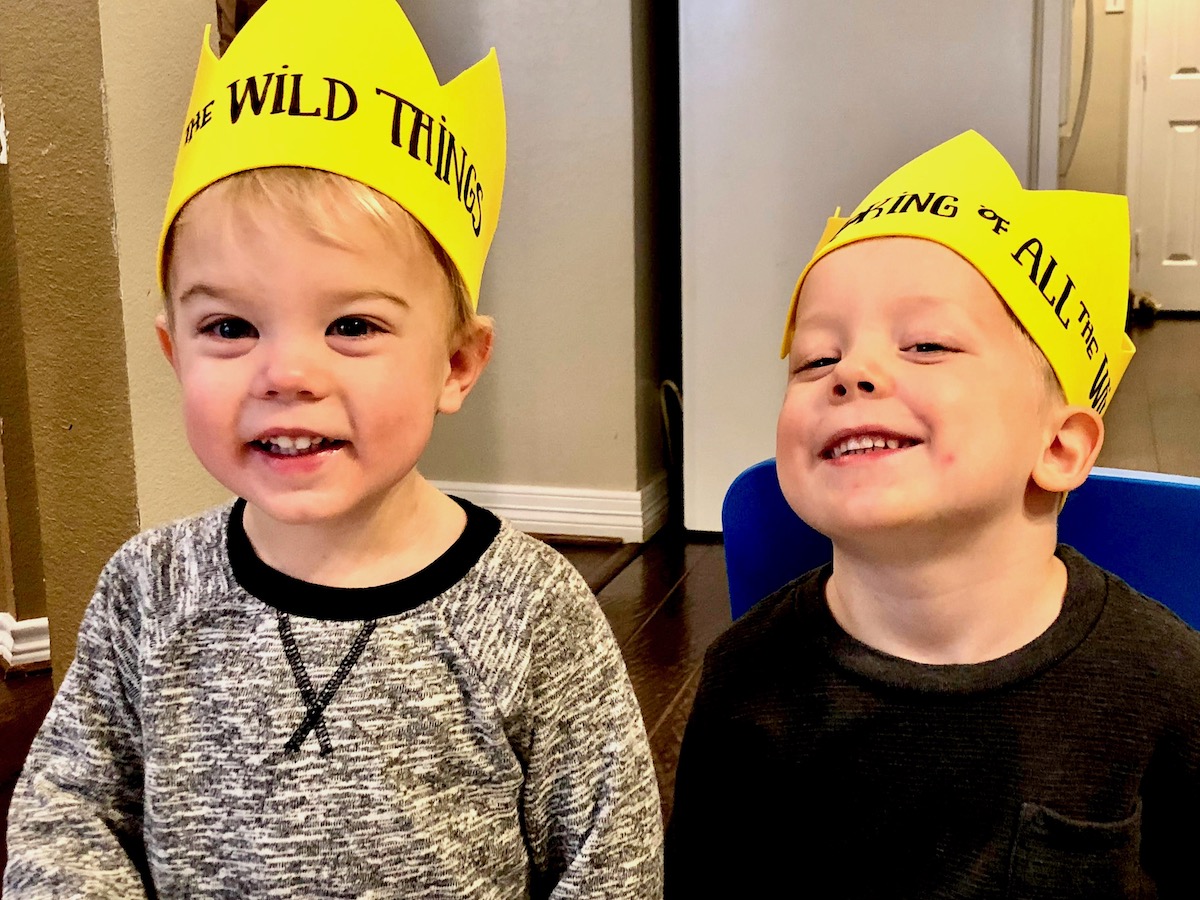
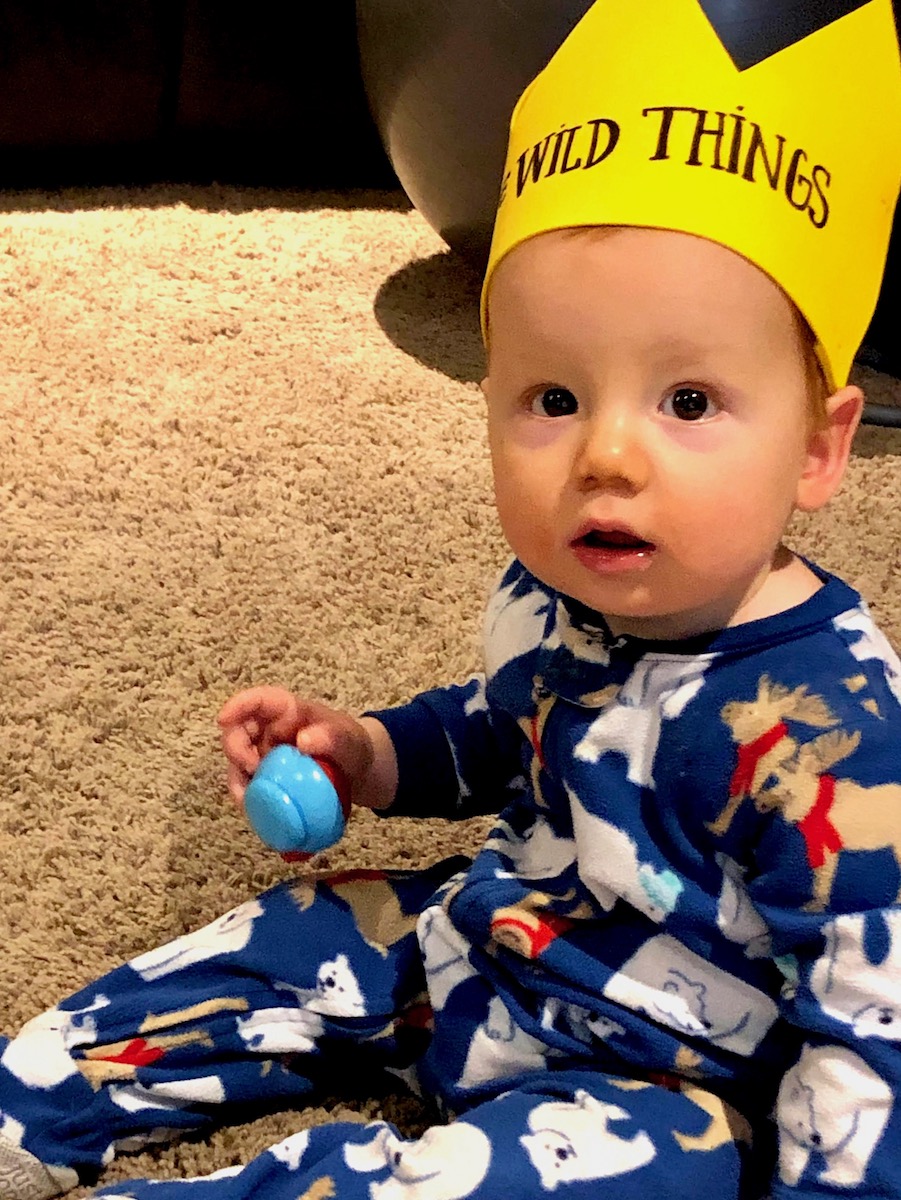
Look at this adorable “King of All the Wild Things!”
“And it Was Still Hot”
Ideas for Meals and Snacks to “Gnash Your Terrible Teeth” on
Decorate Cookies
Because I chose to simplify the evening activities, we were happy with frosting and sprinkles on cookies I had baked ahead of time. That was just the right amount of fun to work for us. If I were to do an all-out RaRa Palooza with 5-7 year-olds, I’d find some cute monster cookie cutters and decorate them with colored frosting.
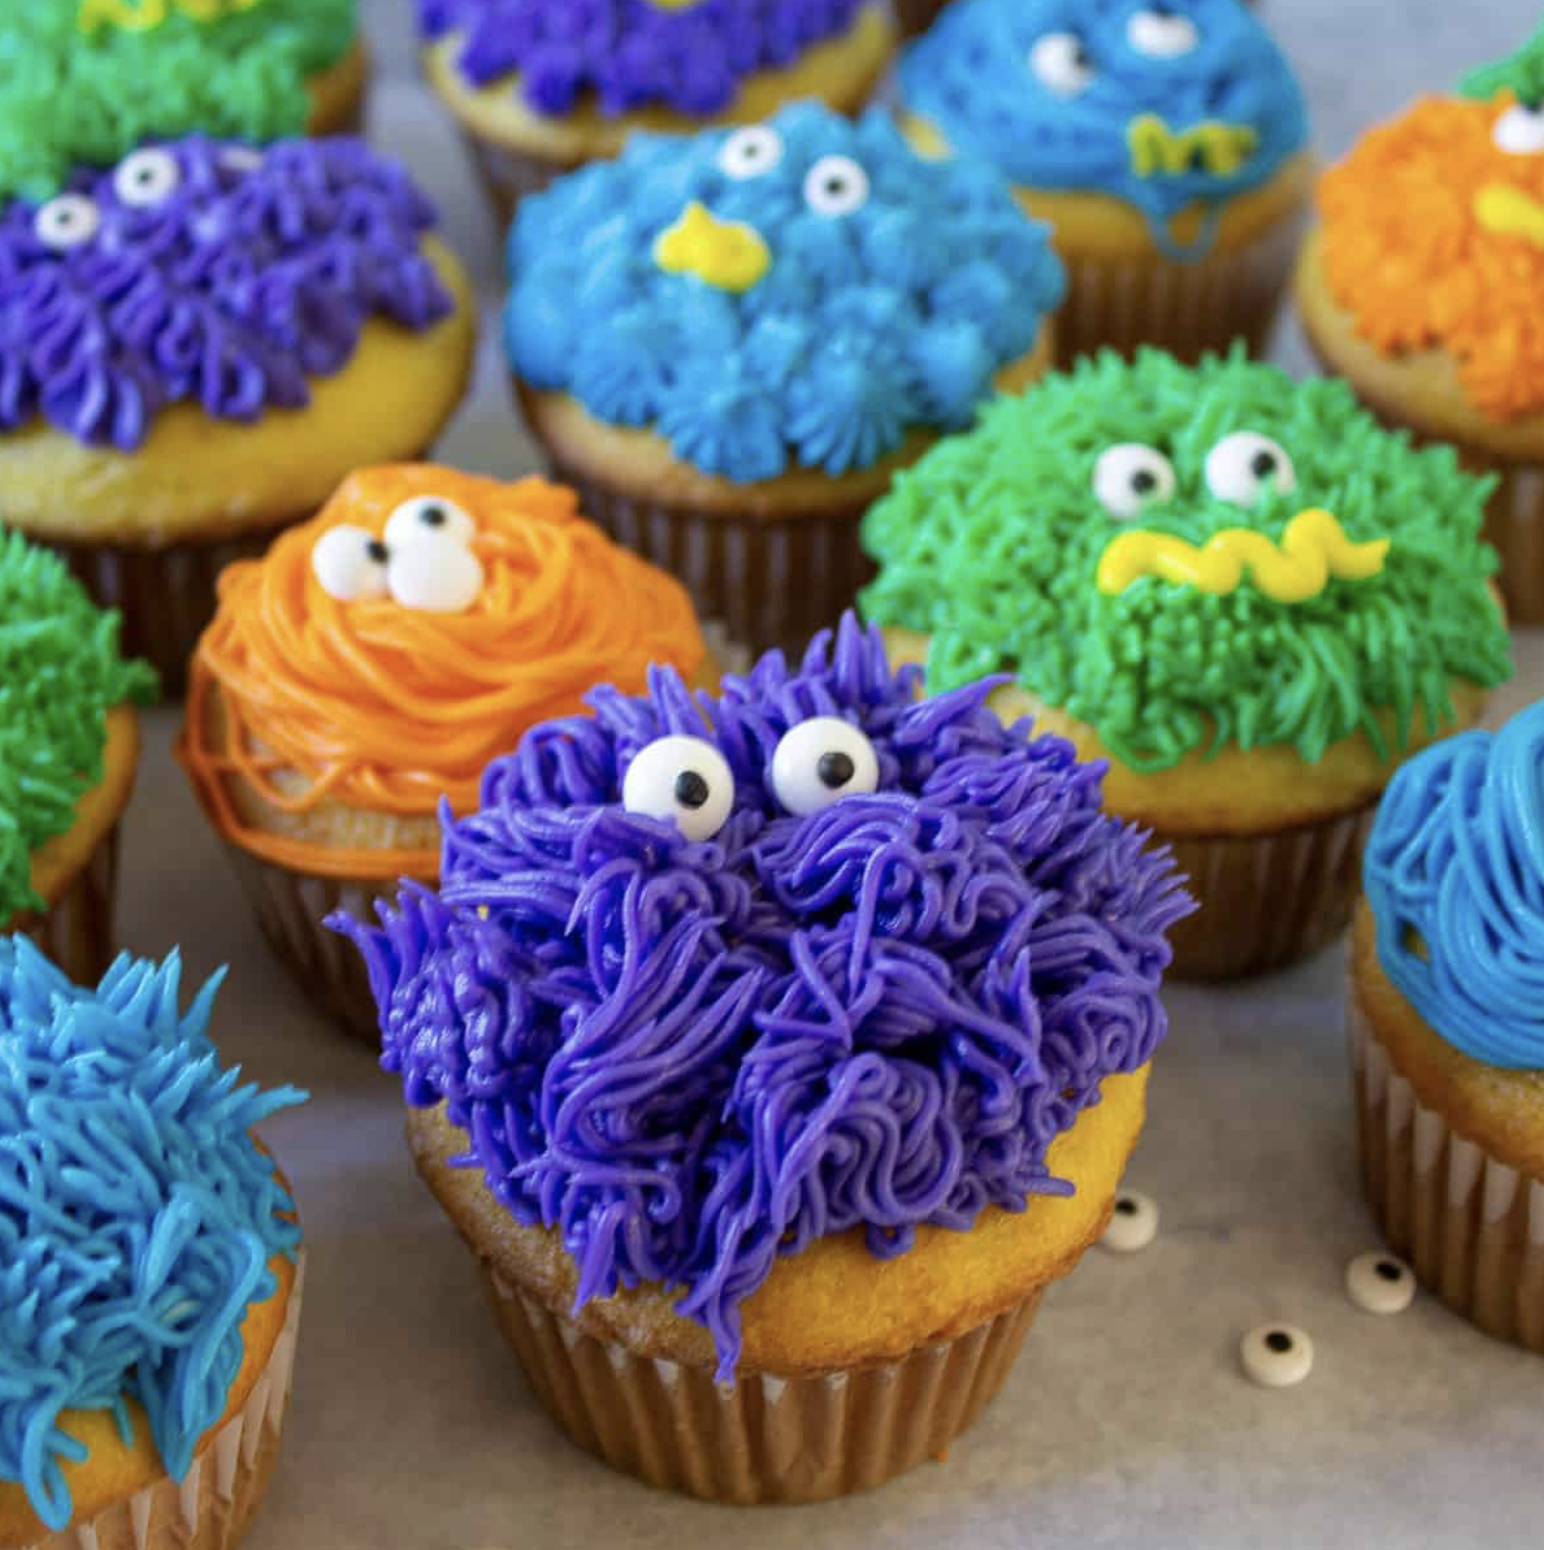
Or I would have used a “hair” frosting tip on a pastry bag to make monster cupcakes. You’ll find a fun tutorial for these written by Kathy on her “Beyond The Chicken Coop” blog. She gives detailed instructions for making these whimsical cupcake creations, including recipes for frosting and tips on using a pastry bag if you are a beginner. Here’s what the “hair tip” produces when you make monster cupcakes–long strings of hairlike frosting:
Dinner
We went really easy on this one too – we did monsters & cheese (mac and cheese) and trees (broccoli). There are lots of fun ideas out there, so check Pinterest if you want to up your party food game.
Making Bedtime Magical:
Fun Monster-themed Bath and Bedtime Ideas
A Private Boat for Max (And Monster-themed bath towels)
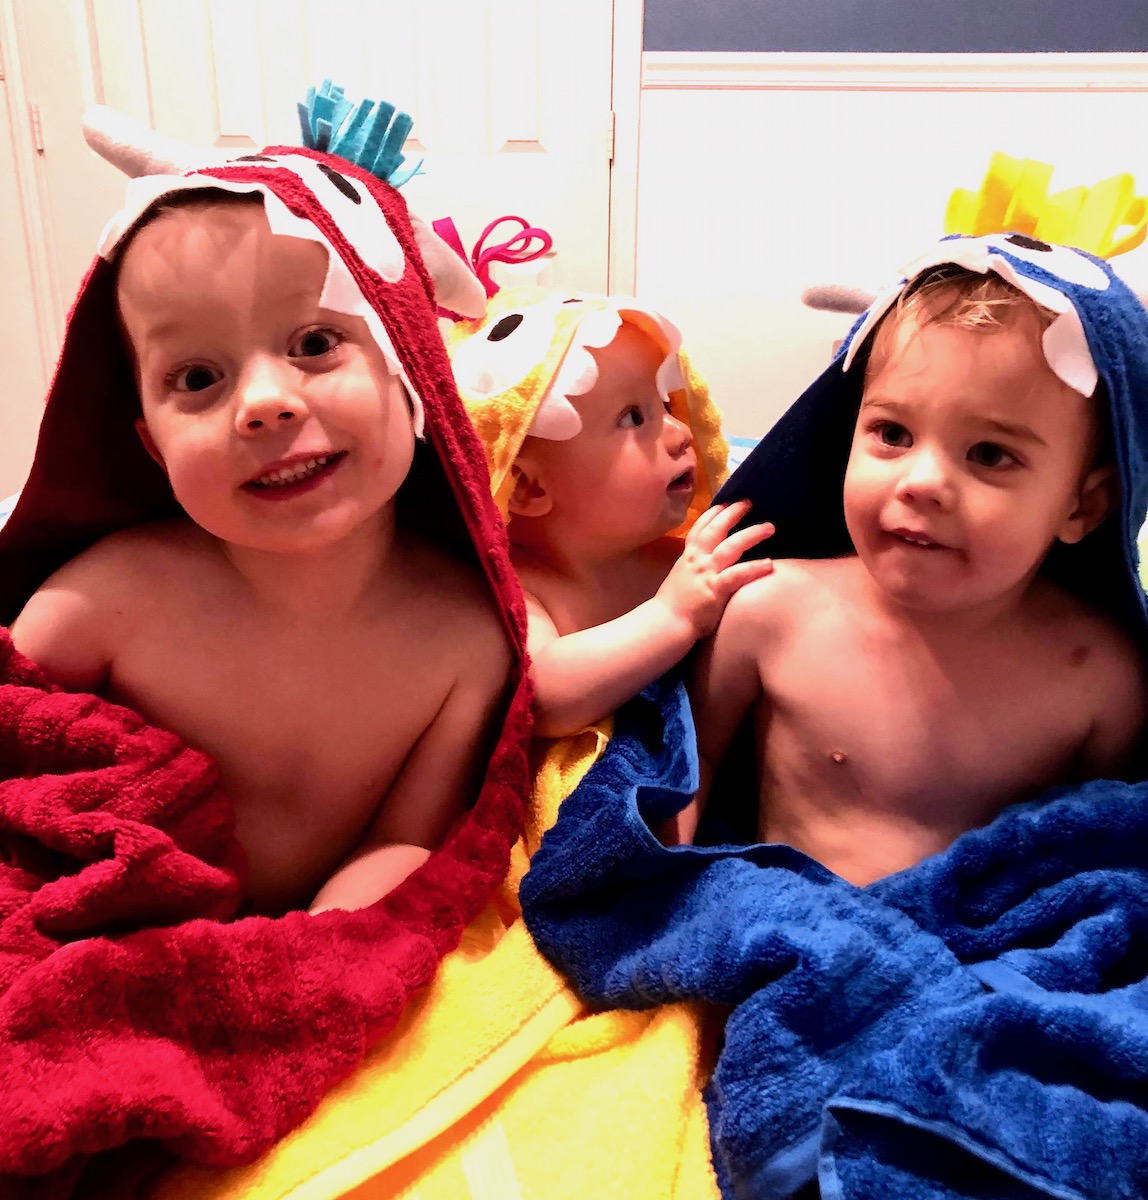
I had saved a large box for a boat but my very helpful husband threw it out the weekend before. We had to settle for using the bathtub as our boat. So, at the last minute, I decided it would also be fun to have some cute hooded towels for each of the kids to use after bathtime. This was the easiest tutorial for making the hooded towels – it takes one hand towel and one regular bath towel. I added felt teeth and eyeballs, plus some colored felt snipped into strips for the hair. Make your monster’s horns with felt pieces sewed into horn shapes and stuffed with fiberfill batting.
Where the Wild Things Are RaRaPalooza Pajamas
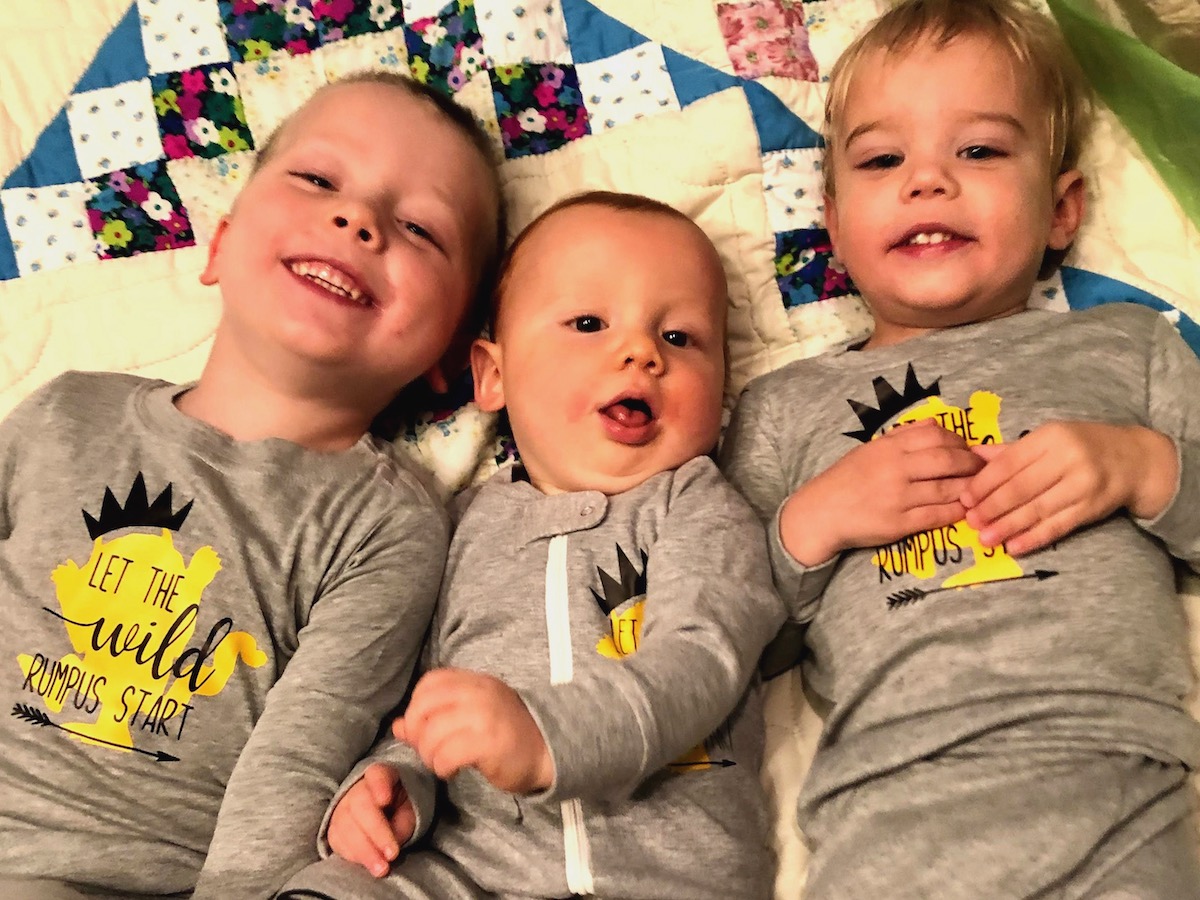
Finally, I had a friend design special “Wild Thing” pajamas for me. Her daughter sells T-shirts and she’s willing to cut vinyl for you and press it onto pajamas or T-shirts. She will also send the SVG file if you have access to a Cricut machine. I added the kids’ names to the right leg of their pajamas. Shoot us an email at customercare@playdatebox.com and we’ll get you all the right info.
We made waffles for breakfast, but I was done snapping photos, so nothing to show there – it was just regular chocolate chip waffles with whipped cream on top.
Was this exhausting? Yes, it was!
Was it worth every minute? Also a yes. And as soon as they were out the door, I started dreaming of the next RaRaPalooza.
Am I a little bit crazy about these adorable Wild Things of mine? Absolutely.

