Before you begin this fun freezing and melting experiment, read or listen to Sneezy the Snowman. It’s a favorite book by Maureen Wright with great illustrations from Stephen Gilpin. It’s one of the books we recommend as part of our Snow Playdatebox). Sneezy is a snowman who has lots of trouble because he’s constantly cold. His ideas for warming up keep landing him in a puddle, so the neighborhood kids rebuild him again and again, using their wits to help solve the problem of being a snowman who is so cold he sneezes. Of course, we had to read the book more than once!

After you finish the book, try building your own Freezy the Snowman and learn a little bit about turning melted snow back into a solid.
Building “Freezy” the Snowman:
Supplies to Make your Own Freezy the Snoman
- Our Freezy the Snowman printable pattern
- A freezer-safe container
- Some craft foam in several colors. We used black, blue, and orange.
- Child-safe scissors
Optional Additional Supplies:
- A pair of googly eyes
- Small twigs or pipe cleaners for arms
- 2 or 3 few colorful buttons (optional)
- a very mini carrot
 Click the image to download the free printable pattern.
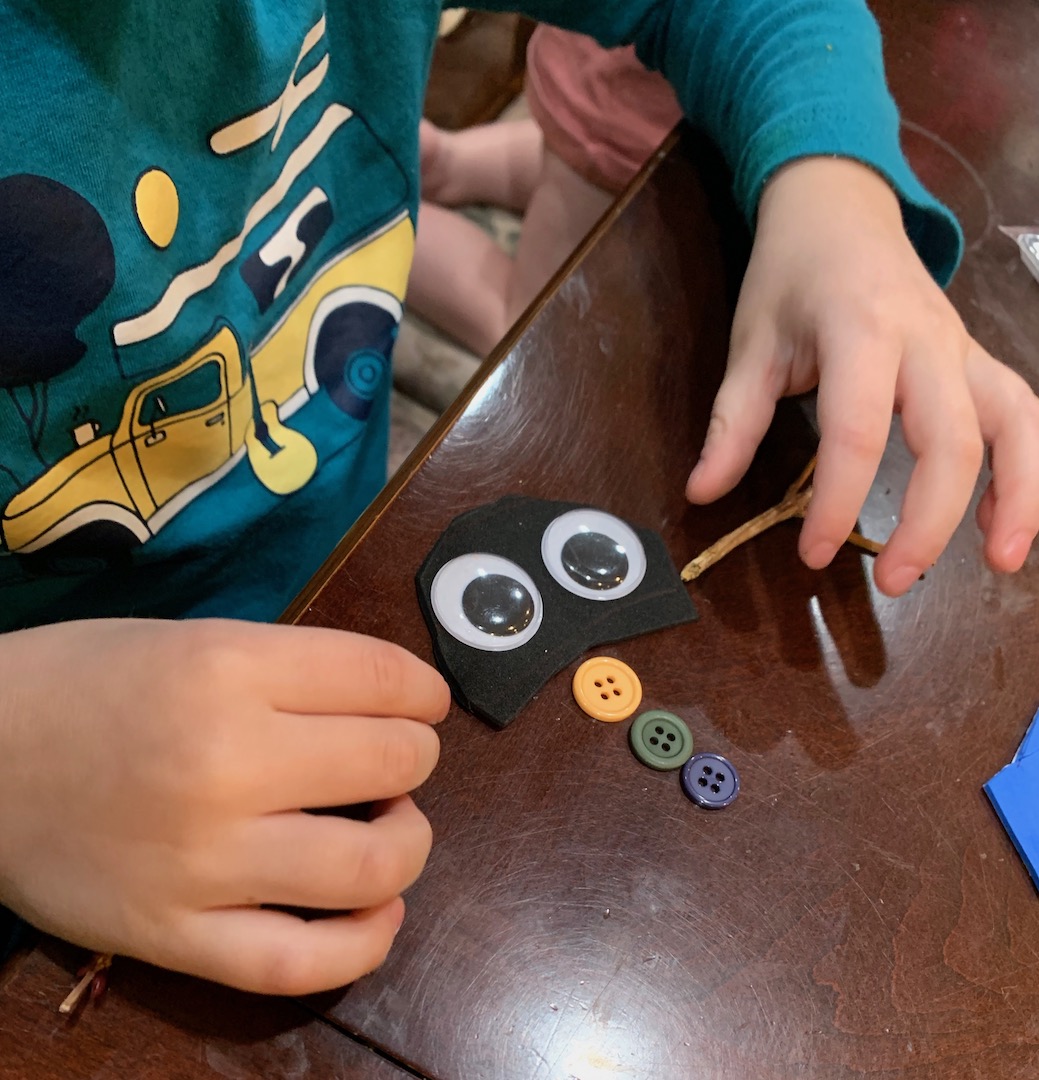
We practiced some scissor skills after tracing the snowman hat onto some craft foam.
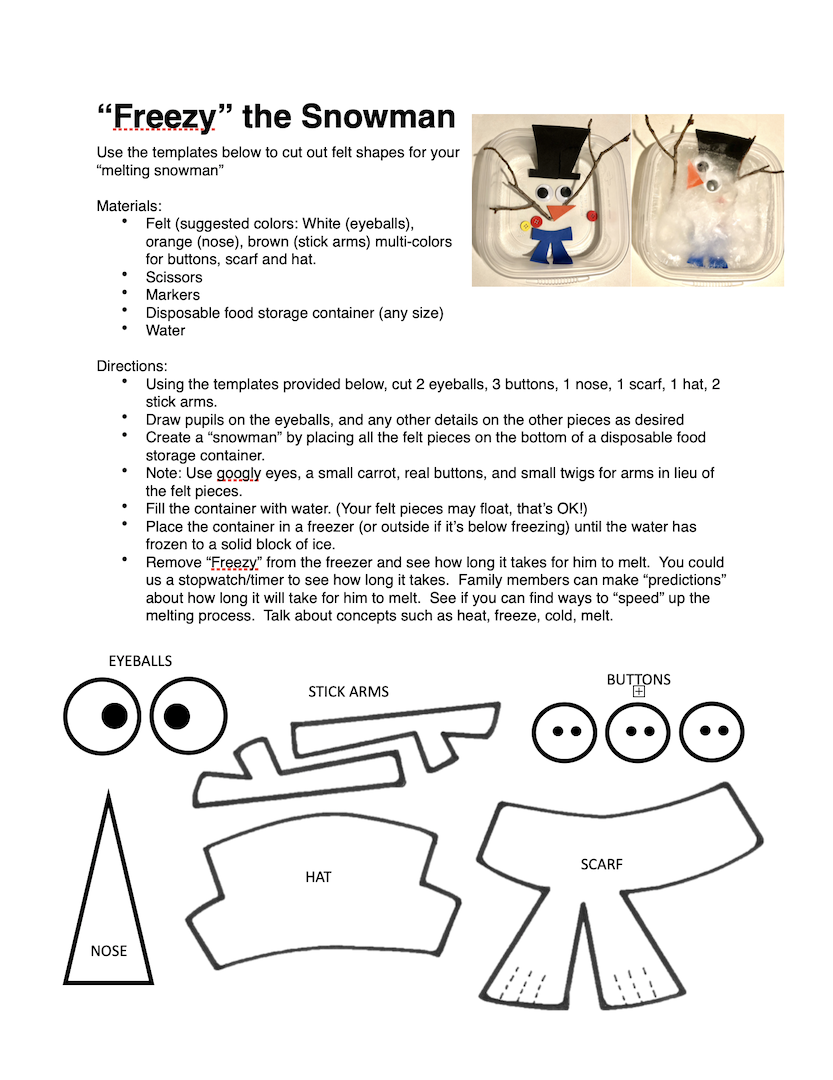
Freezy the Snowman Instructions:
- Help your child trace the Freezy shapes onto craft foam as needed. The pattern includes shapes for a complete snowman outfit, but you can substitute small twigs for arms, real buttons in place of craft foam buttons, and googly eyes in place of cut-out paper eyes. If you have a mini carrot on hand, you can even shave that down to make your snowman nose.
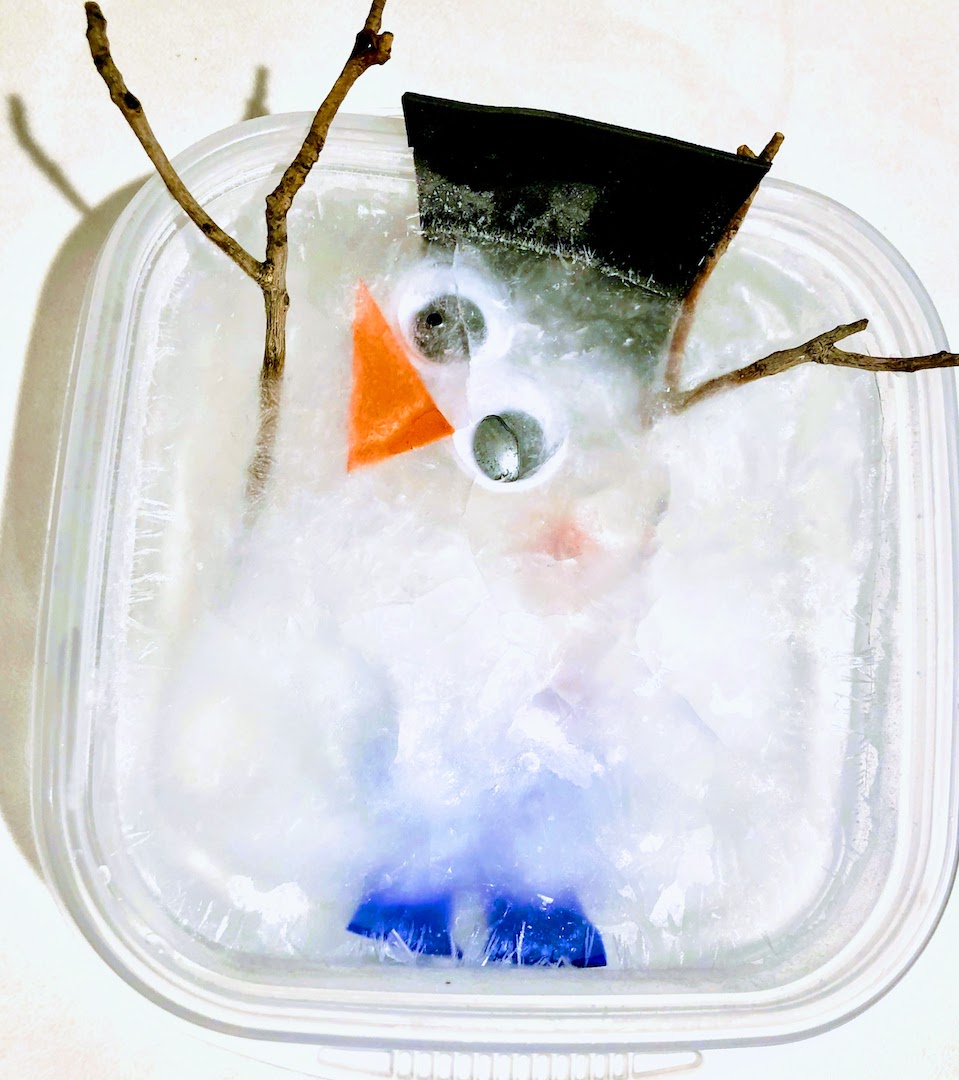
- Once you have all of your pieces cut out, arrange your snowman in the bottom of a freezer-safe container.
- Pour in enough water to cover Freezy. His pieces may float about, and that’s OK. A crazy-looking finished product is part of the fun. If you want him frozen intact, glue all of your pieces down to another piece of craft foam before adding water and freezing. Or, just settle your freezer container into a flat spot in your freezer and rearrange the pieces after the container is in place.
- Next, wait for an hour or two and if desired, let your child check to see how Freezy is coming along. After one or two hours you should have some freezing action already taking place and it will be fun to poke a finger in and break up some of the ice before it is solid.
- After your Freezy has been in the freezer overnight, take him out and give him a shake. Hopefully, his googly eyes are still able to wobble around a bit.
Now, place him on the counter and check on him every few hours to see him begin to melt again.

Your child will have fun freezing “Freezy the Snowman” and then putting him on the counter to watch him melt again.
More Experiments – Things that Melt
To continue your freezing and melting experiments with older children, go on a scavenger hunt around the house to find some things that would melt and then test them out. Some options could include:
- Popsicles and ice cream
- Candle
- Chocolate chips and baking chocolate
- Ice cubes
- Butter
- Cheese
- Crayons
- Snow
Try different heat sources safe enough to use with adult supervision:
- Your own body heat (your hands will melt chocolate)
- A blow dryer
- A candle
- An electric skillet
- The microwave
Test out different combinations of meltable stuff and heat sources, and share your discoveries with us on Instagram @playdate_box!